

Cleaning out your dog's kennel can be quite a chore, but Brandon with Rustic Wood Work & Family is here to show us what he does to make it a much faster chore to complete.

Once a month I do a thorough cleaning of our dog pen and today I'm going to show you how I have my own setup to make this a fast and easy process.
When I first built this dog kennel I poured the slab so that it was at a slant, and I placed the drain so that when I spray it down all the dog's poop and pee will go to the drain and into a bucket that is placed outside. Everything goes inside the bucket keeping the pen from smelling all the time.
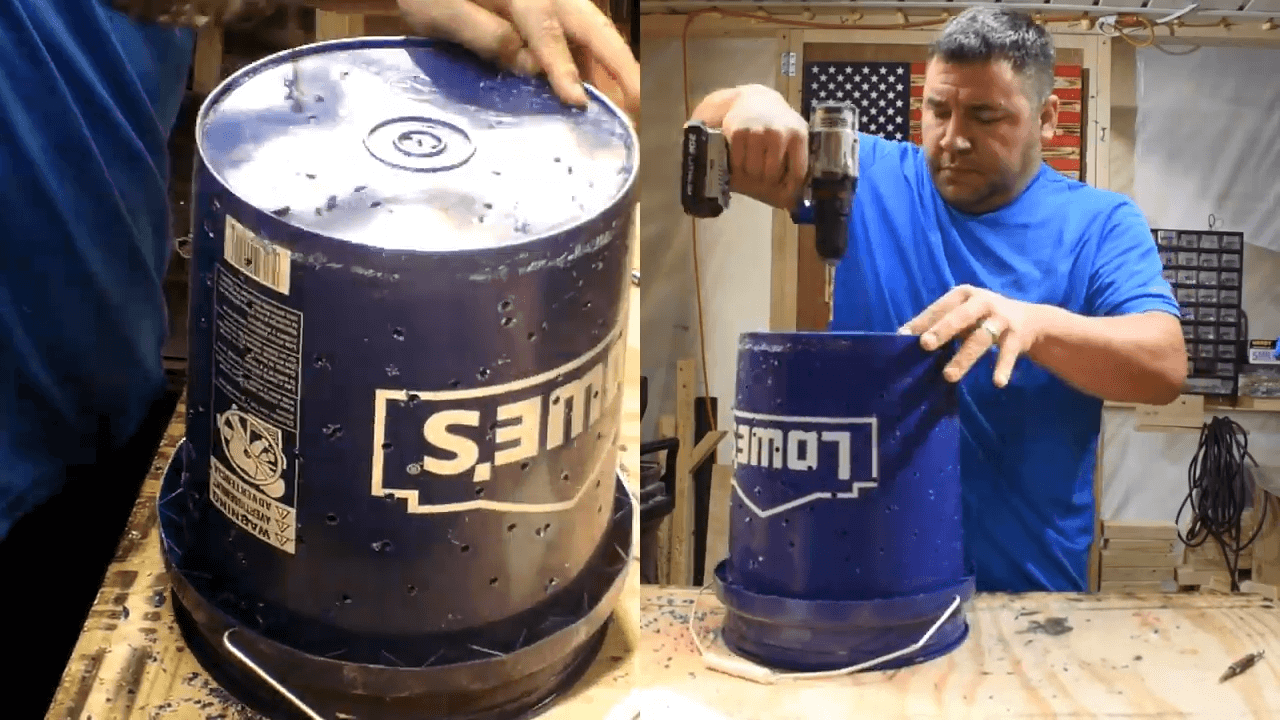
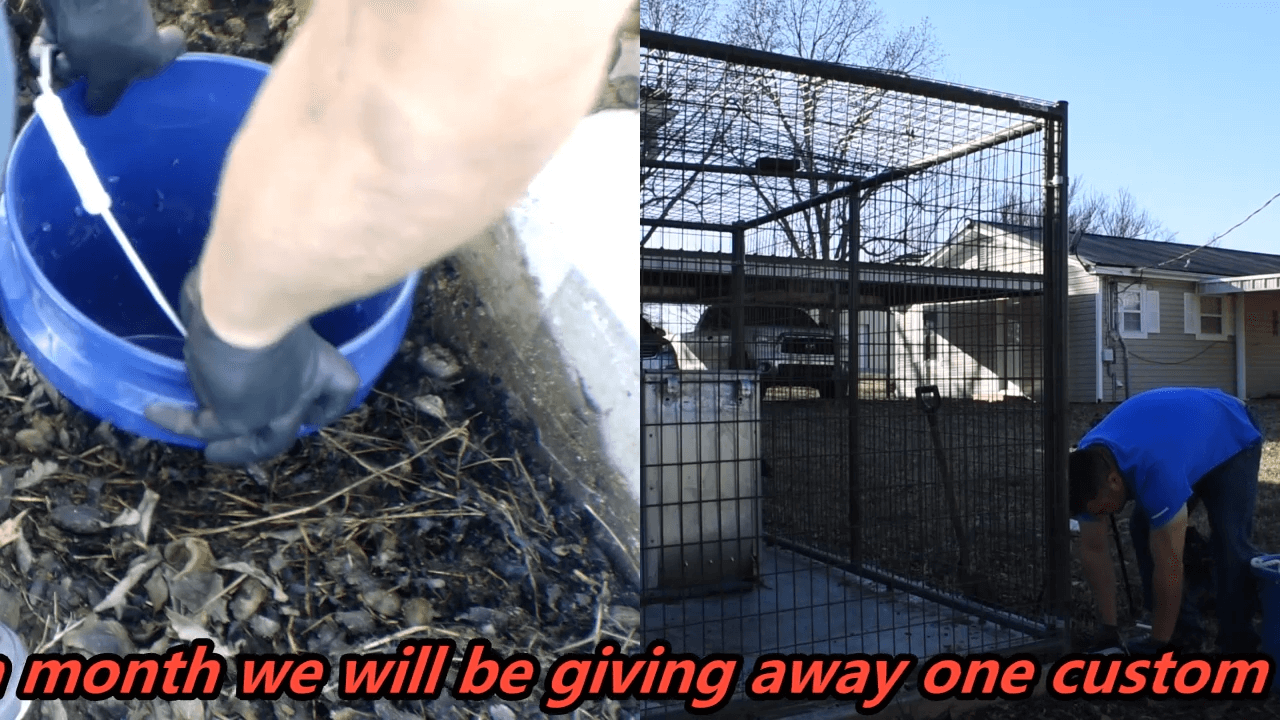
To begin I take a plastic gallon bucket (like one from your local hardware store) and I drill some holes into it. Basically, I use a 3/8 bit and I drill holes up and down the sides of the bucket all around it. By the way, you don't have to drill these holes in a straight line or anything.
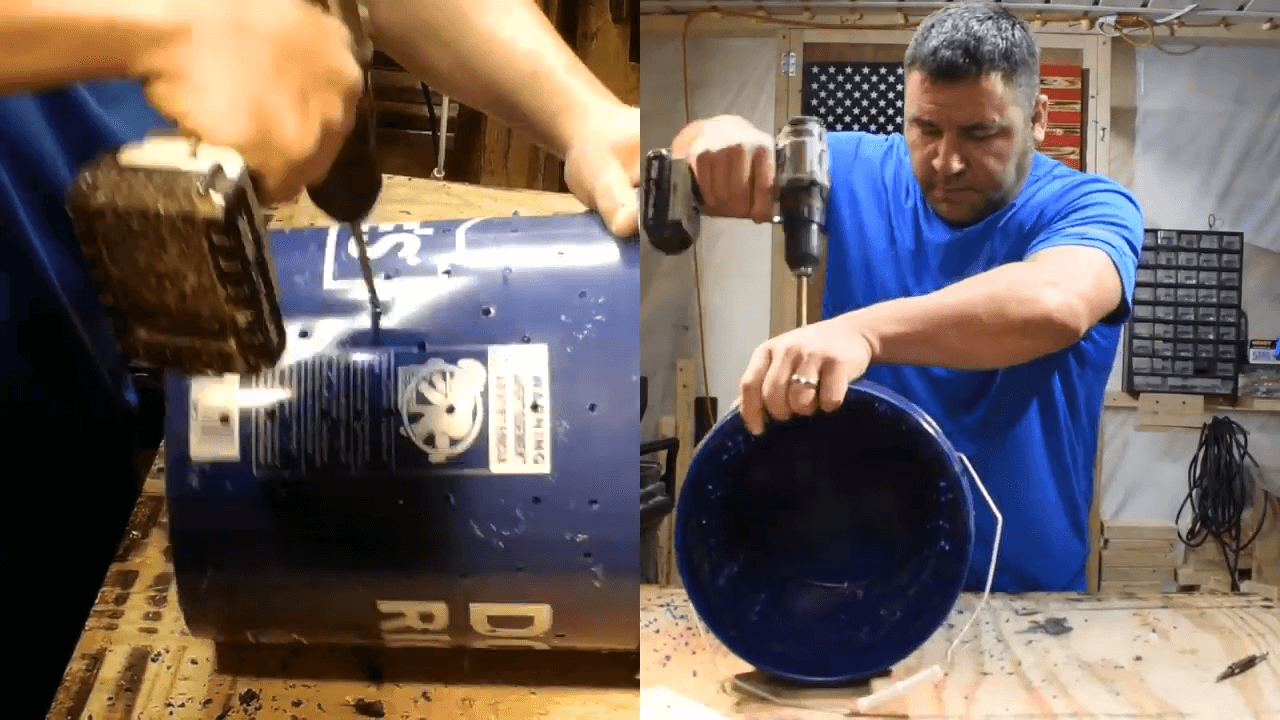
Once the sides are completely covered in holes, flip the bucket over and drill holes there, too. Next, I take my shop vac and suck up all of the small plastic pieces left from the drilling to keep my shop clean. Use it on the bucket as well, if needed.
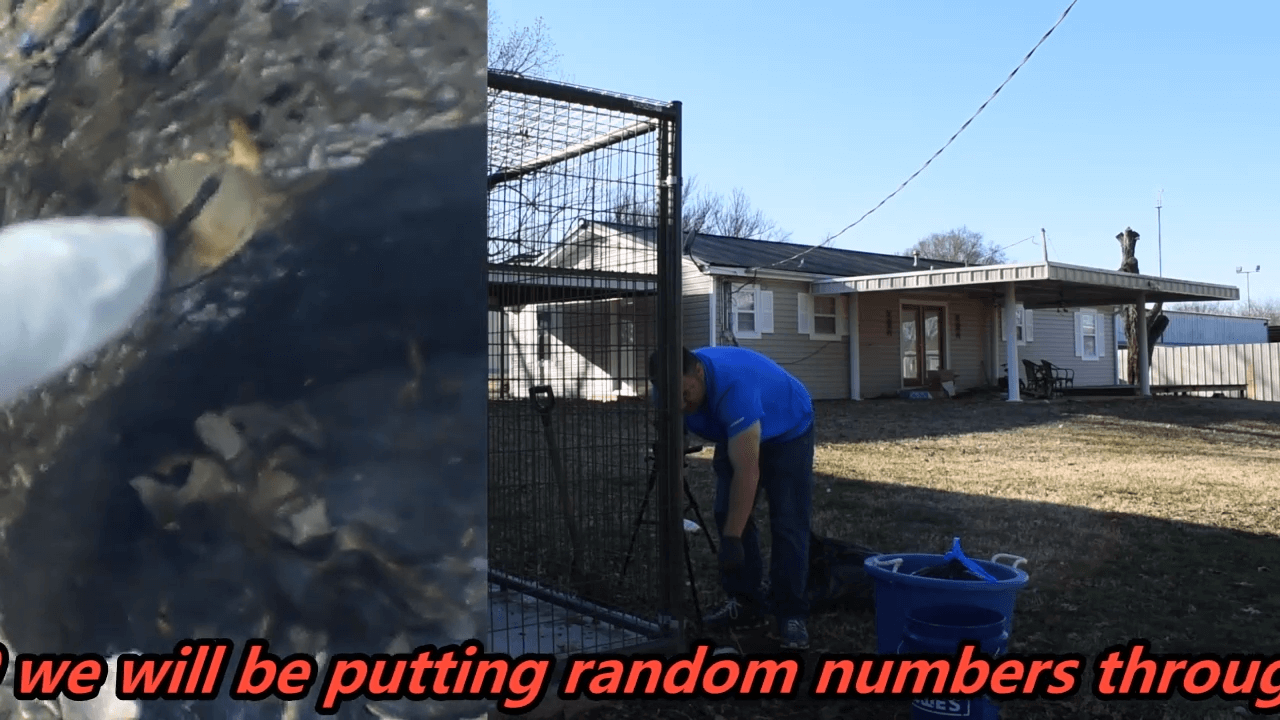
Okay, now that we have all the holes drilled (and remember, it doesn't matter the exact number of holes, just that there are enough there to allow the bucket to drain), let's go out to Harley's pen and switch these out.
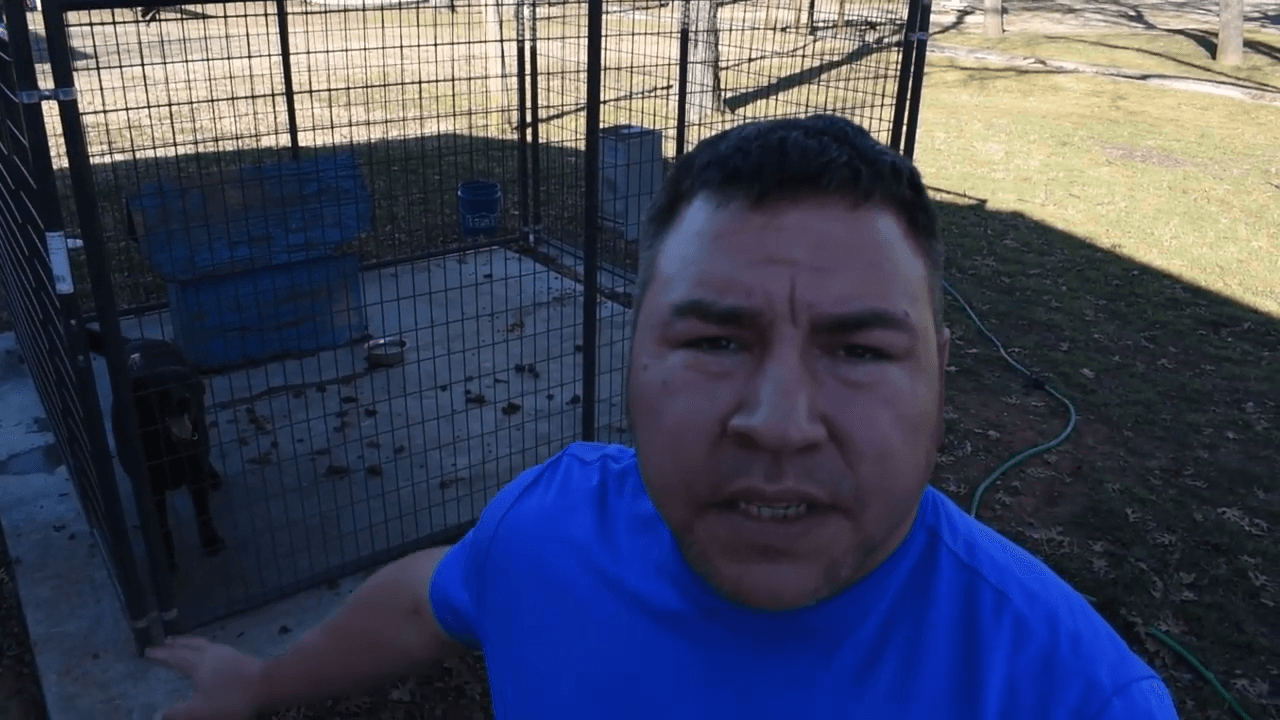
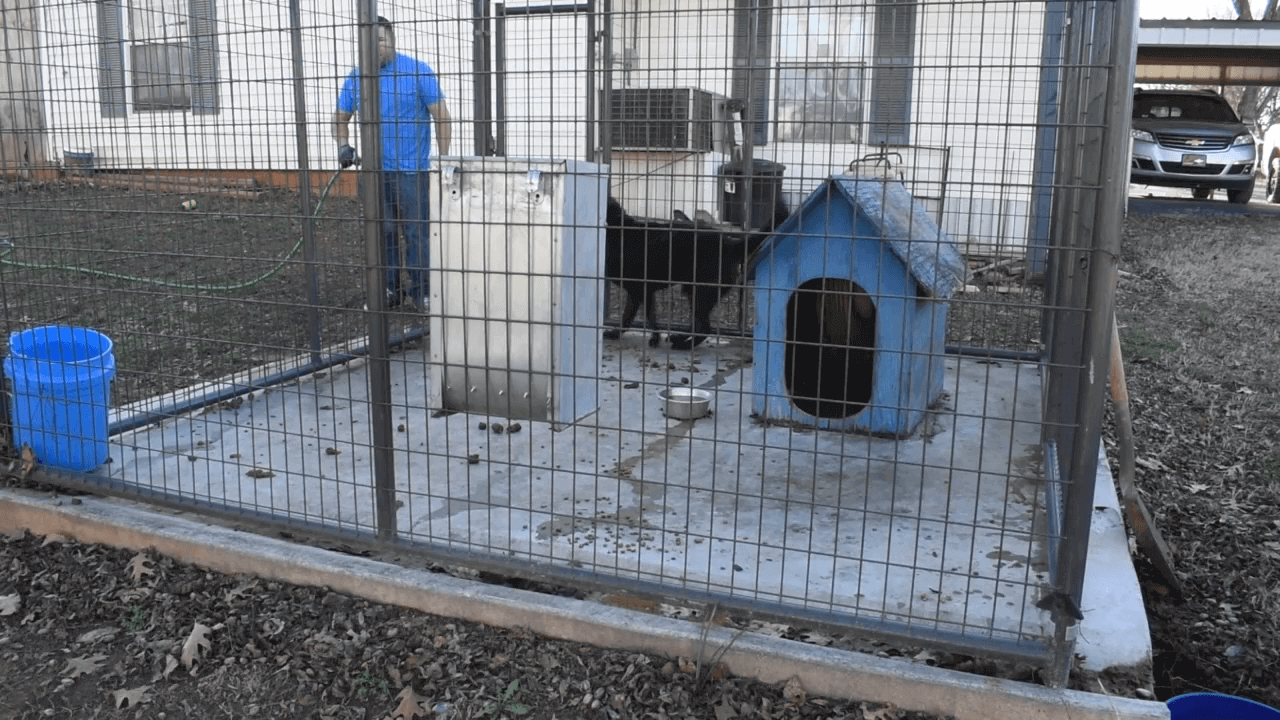
All right, now that we're out here at Harley's pen, as I stated earlier when I poured the concrete slab I did so at an angle, and then I put the drain on the right side of the pen (from where I am now) and also poured it as well at an angle. That way when I do spray the water and all the poop and stuff it's already tilted and it goes a lot quicker and easier.
So as I bring you over to the drain in order to change this out, I'll show you where the bucket gets placed and well as where it drains off to.
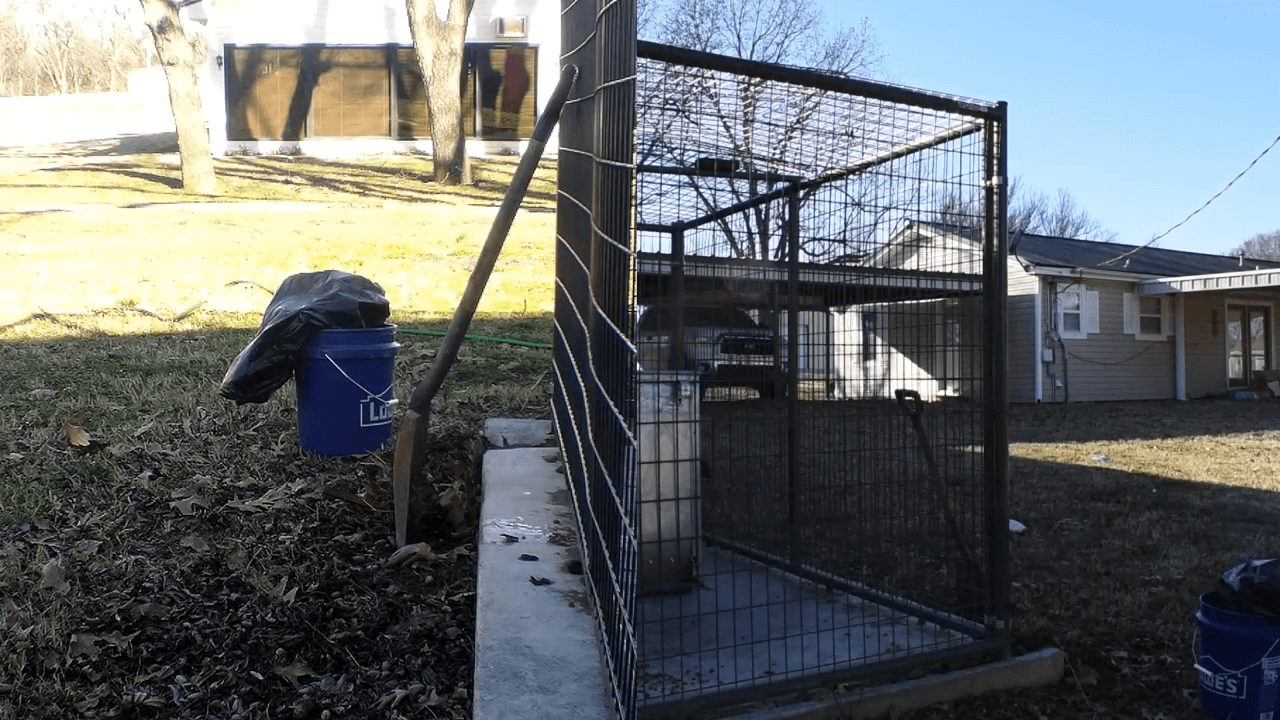
Now due to the fact that I have palm trees and this is currently fall when I shot this, I need to go ahead and get the leaves and other debris away from the drainage area, and then you'll be able to see the old bucket and we can pull it out.

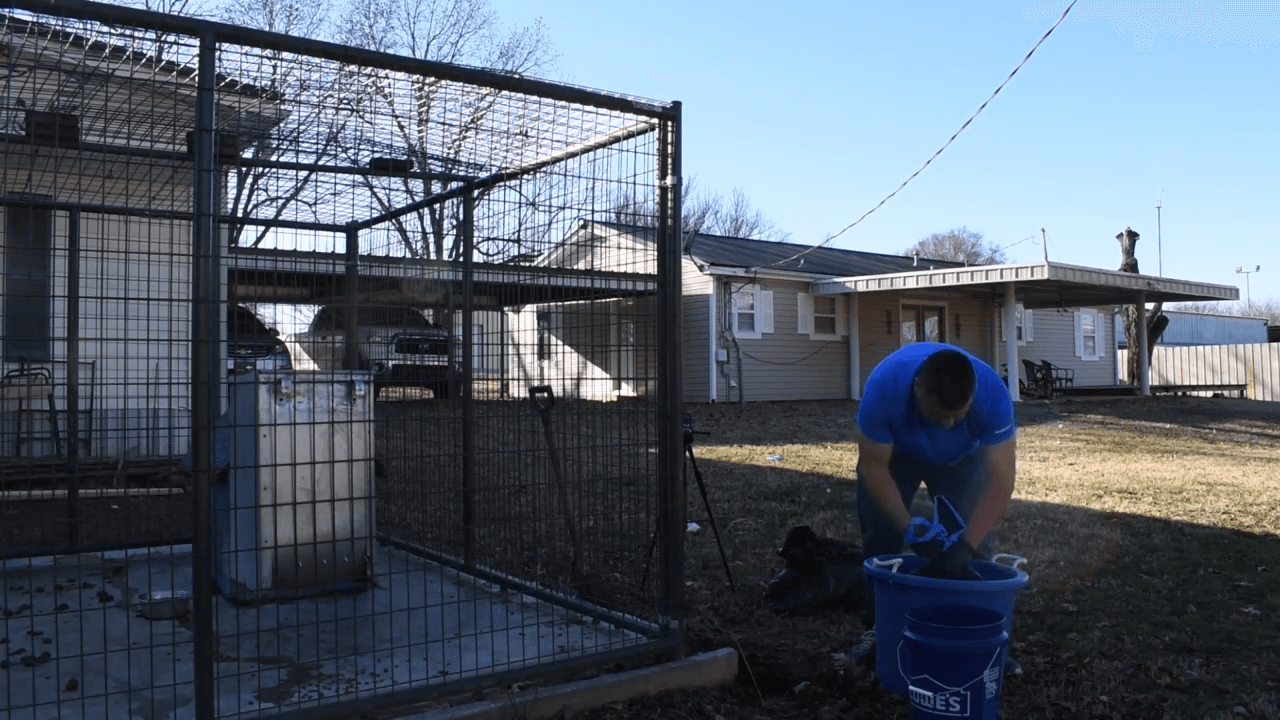
All right, so whenever I place a new bucket I always leave the handle attached so that it's easier to pull it up and then set it into another bucket. Now when I pull this out it is going to look like a lot of poop but you must remember that it is also full of leaves and other debris. Also, I normally have my helper with me but he's currently taking a nap.
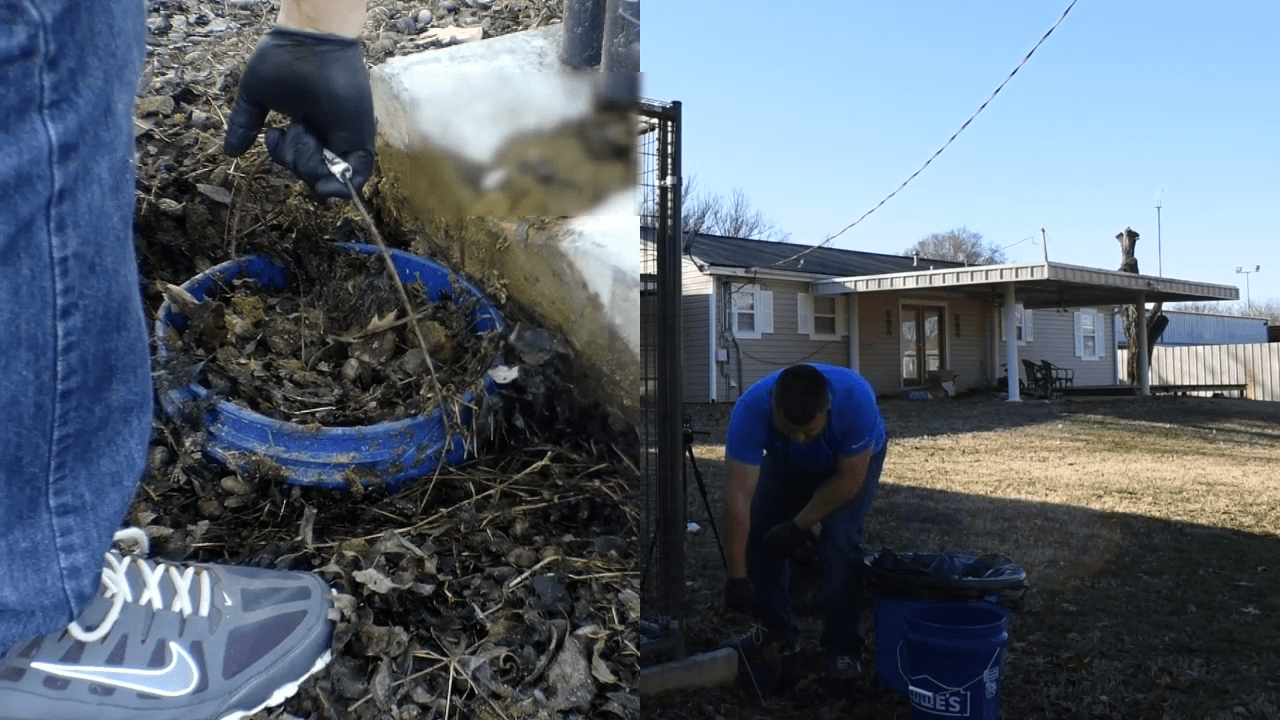
So we now pull it up and set the bucket into a larger one with a waiting lawn or heavy-duty garbage bag. Yes, this does stink really bad so I'm going to go ahead and close the bag up. even so, here's the deal: it really helps a great deal by saving time when cleaning this pen. I mean, it doesn't go on the ground because you are saving it all right here.
So now that I have that out I'll show you inside. What I basically got here is that there's another bucket inside the dug out hole that the other bucket sits inside, and if you look real close you'll see a PVC pipe so that when the water and urine hits there it drains outside and then it is ready to go.
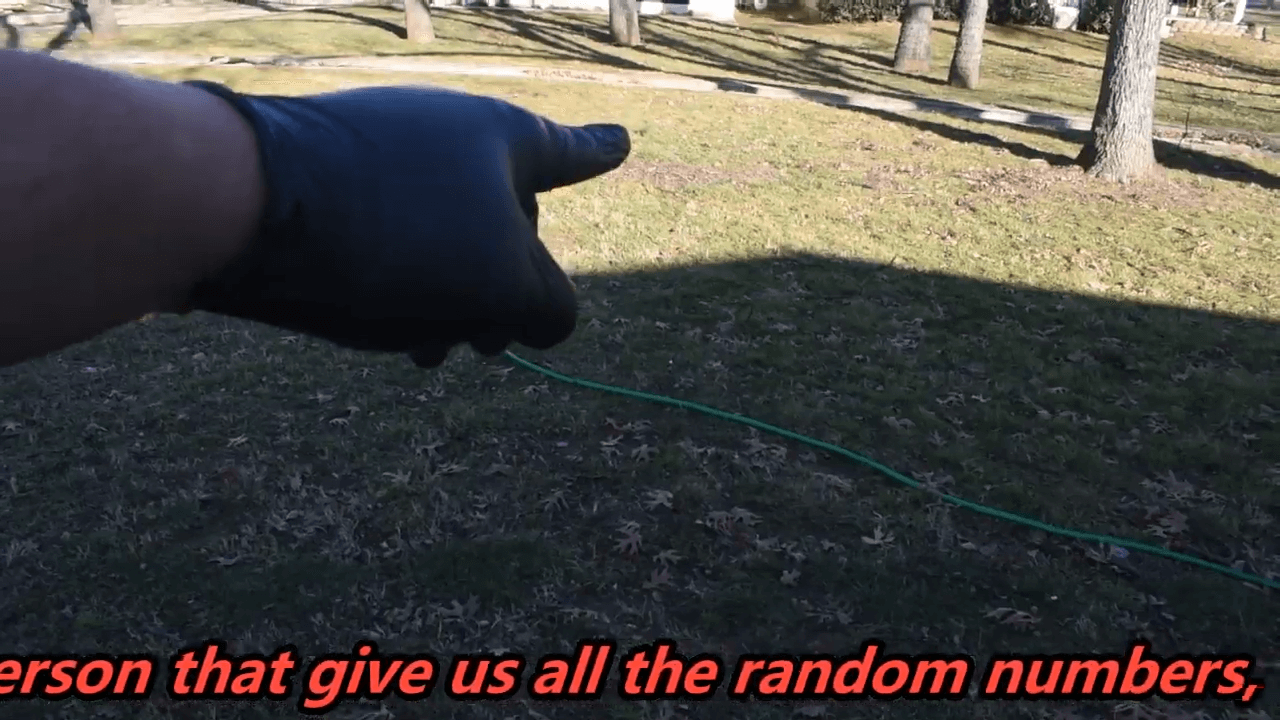
When the water drains, it goes way out there into the yard a good ways away from the pen. That way it fertilized the lawn and that particular area stays a fervent shade of green, especially in the summertime.
So we just slide the new bucket with the drilled holes on in there just like that.
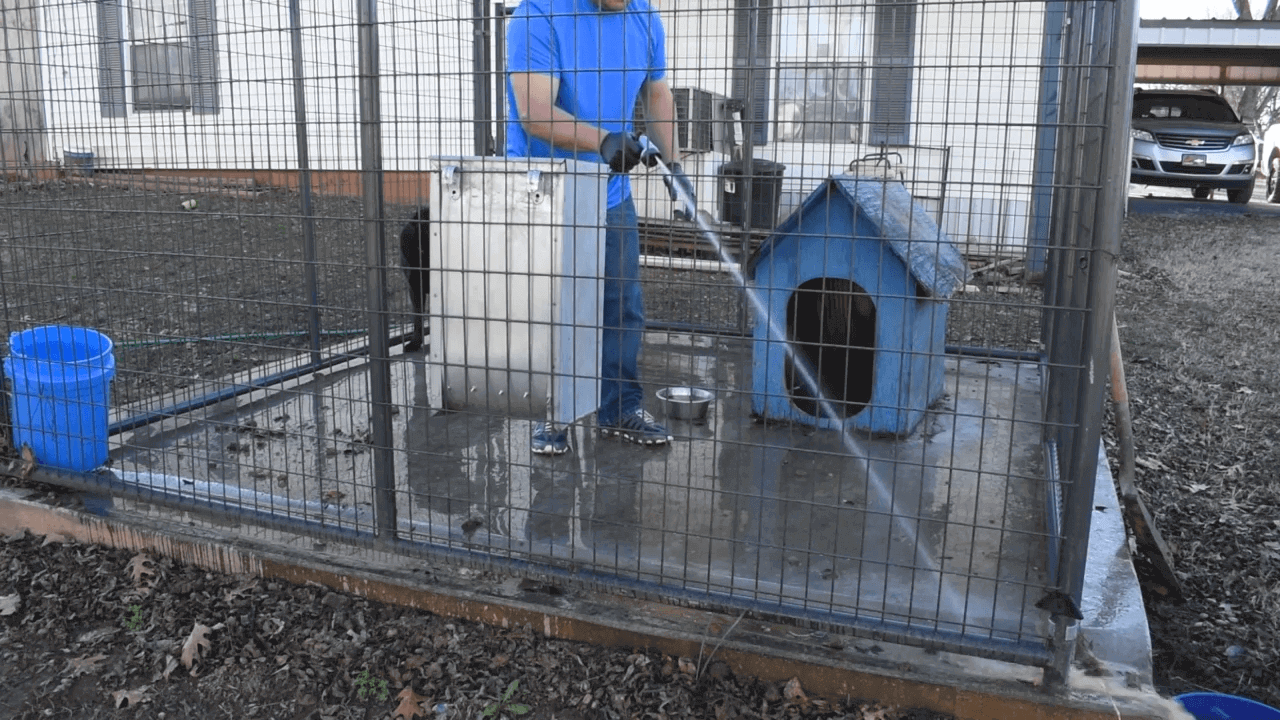
Now that the bucket is in place, all I need to do is spray down the kennel with a strong stream of water, being sure to get any stubborn poop to travel down towards the drain.
As I'm cleaning I will also spray out the drain chute to make sure it all flows down to the newly placed bucket. I want to make sure to get the pen completely clean of poop, pee, and any other debris from the trees and otherwise, that way Harley can be happy and comfortable while in his area.
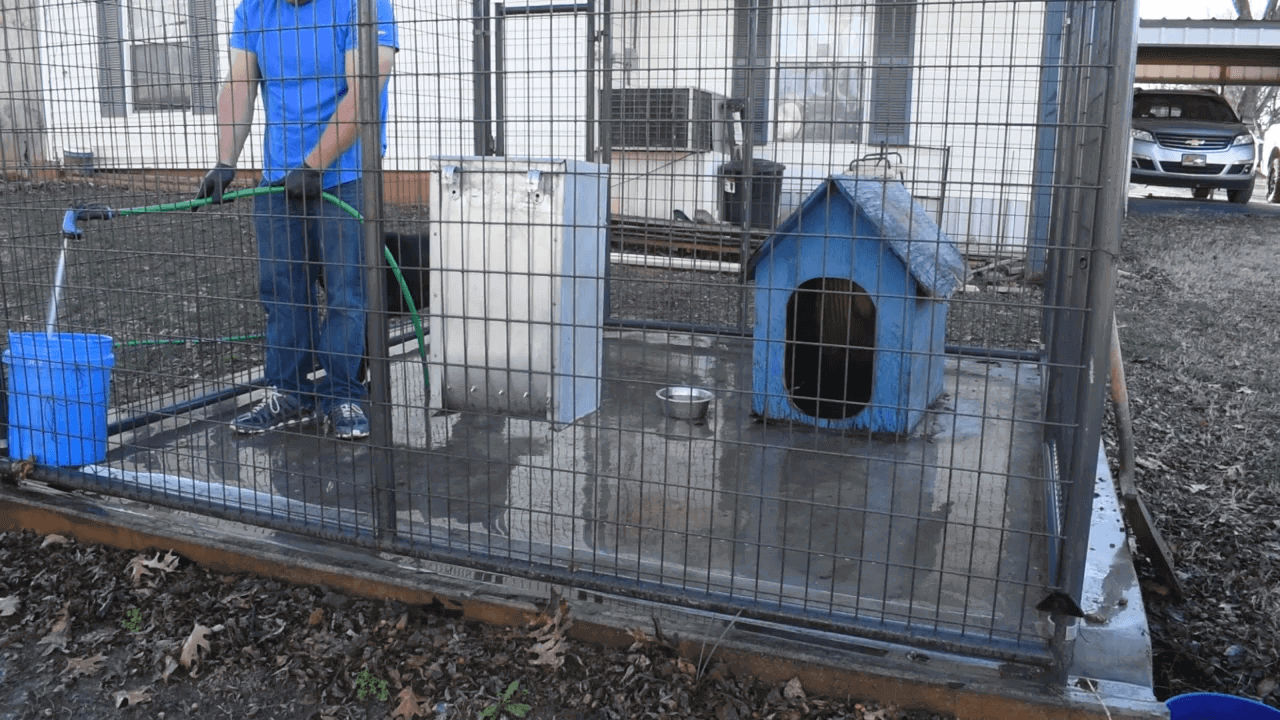
I finish up by topping off the water bucket. As you can see, the whole process then takes only 5 minutes (if that) and is much easier than other traditional methods.
You can view the full video below:


")

