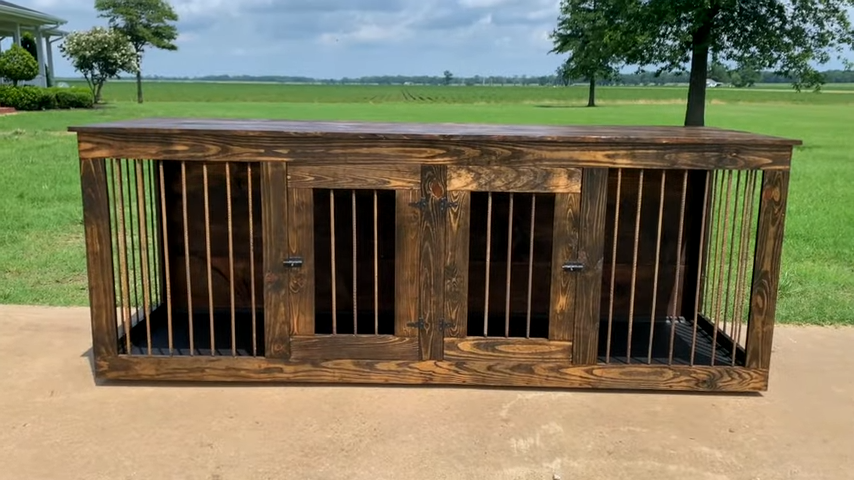
In today's article, we will be joined by Gage Johnson who is going to show us how to create an indoor rustic farmhouse-style double dog kennel. Take it away, Gage!
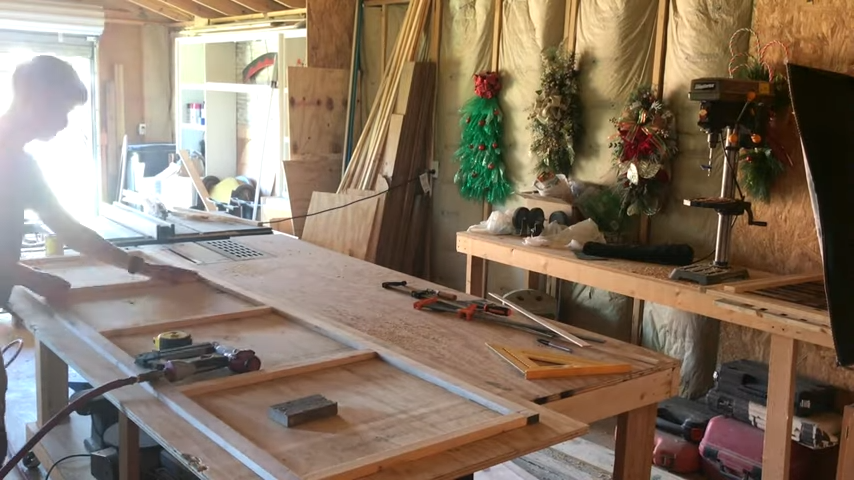
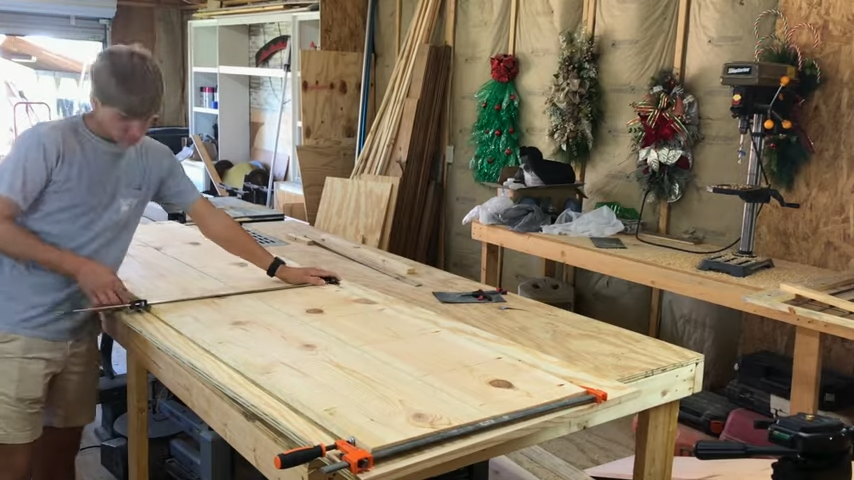
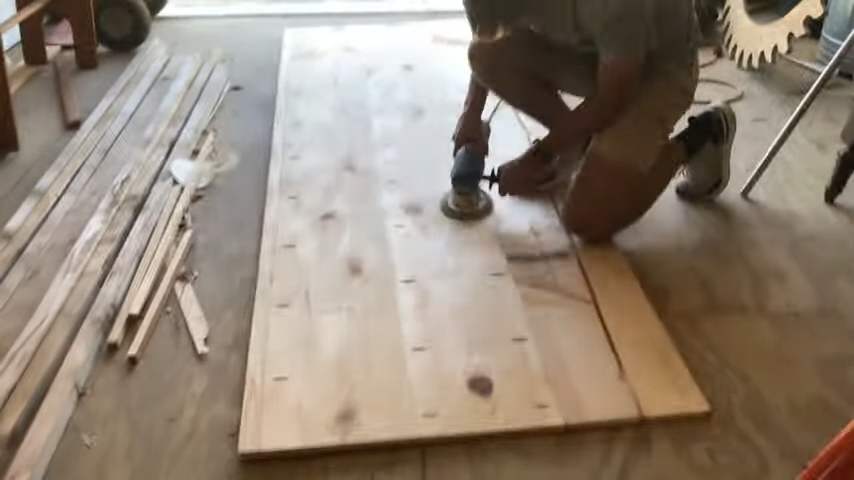
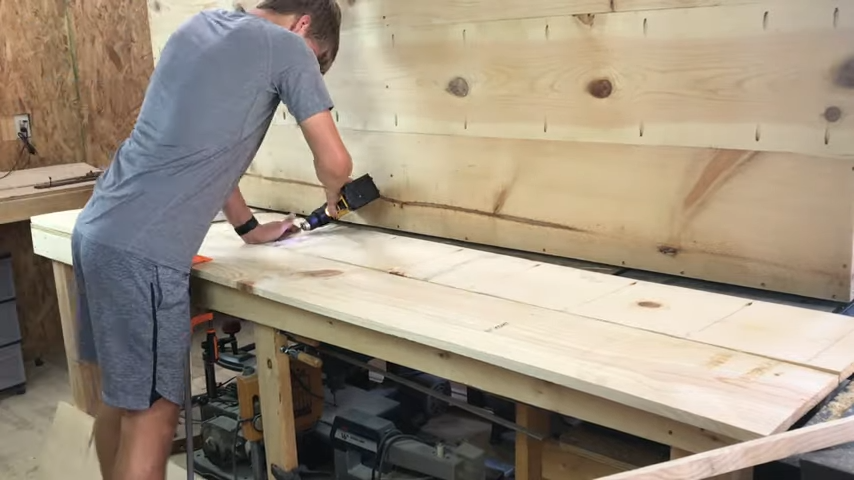
I started off by cutting a base that was big enough to fit the two trays that I was supplied with, and then I added a little riser platform underneath it so that it will sit about an inch off the floor.
Placing trays onto the bottom board for referenceAdding supports to lift the bottom off of the ground
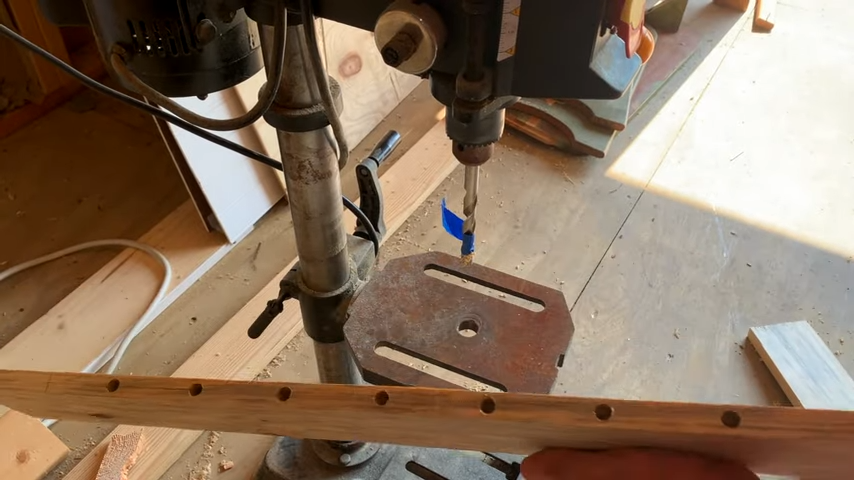
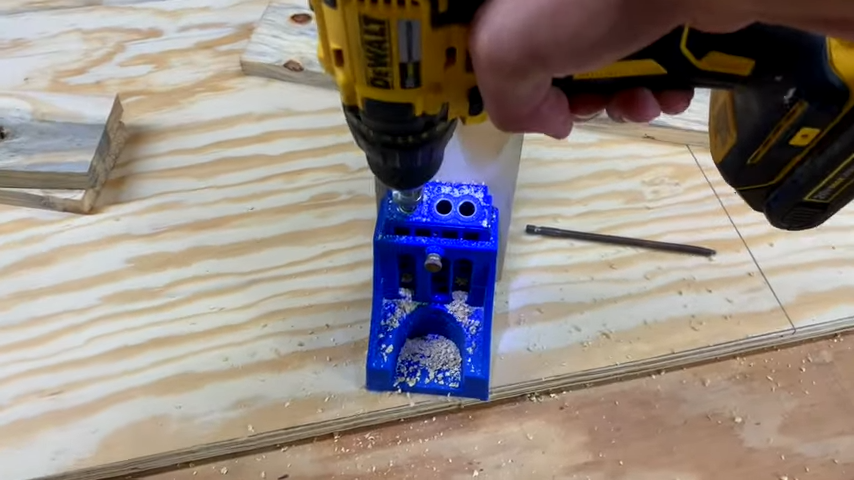
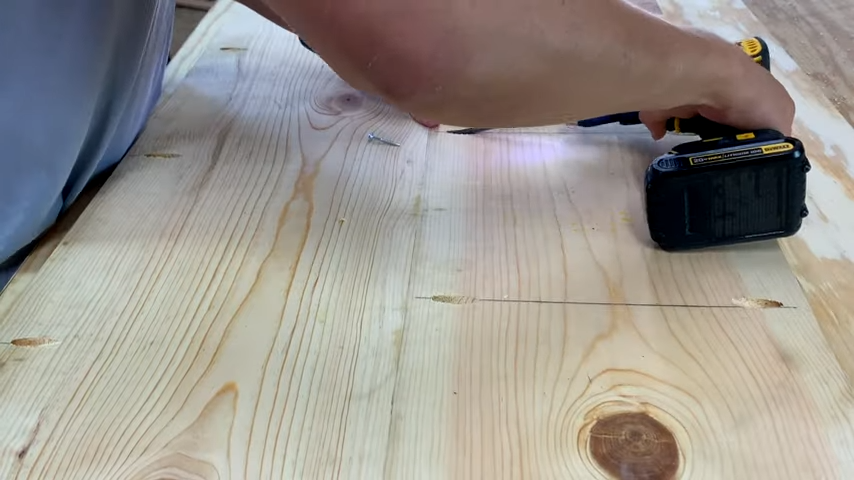
Next, I marked and drilled the holes for the rebar and also added pocket holes that I could screw the side assembly together.
Marking holes for rebar on side panelsDrilling holes to insert rebarDrilling pocket holes into side panelsAssembling the side panelsCompleted side panel
I cut the bottom of the side assembly off so that you can easily slide the trays in and out of the kennel once it was all assembled.
Cutting bottom from side panels for tray inserts
For the back of the assembly, I drilled and used pocket holes to join the boards together.
Drilling pocket holes for back of the assemblyClamping the back boards togetherScrewing the boards together using pocket holesScrewing the boards together using pocket holes for the other side as well
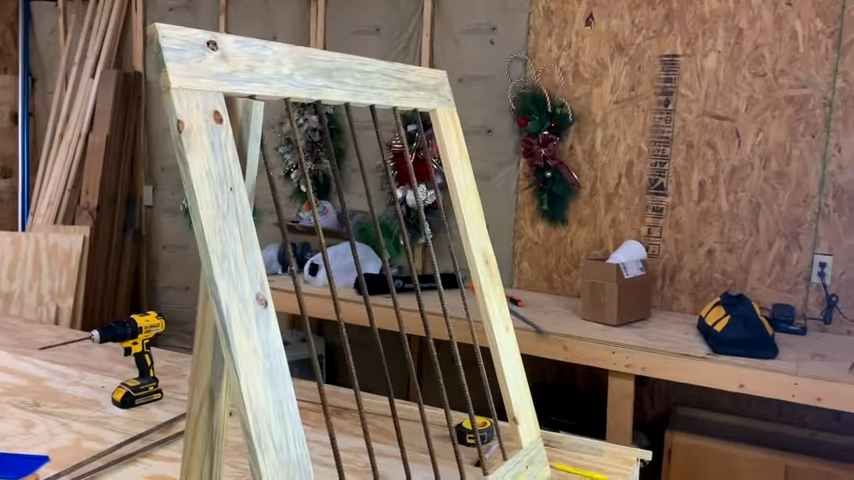
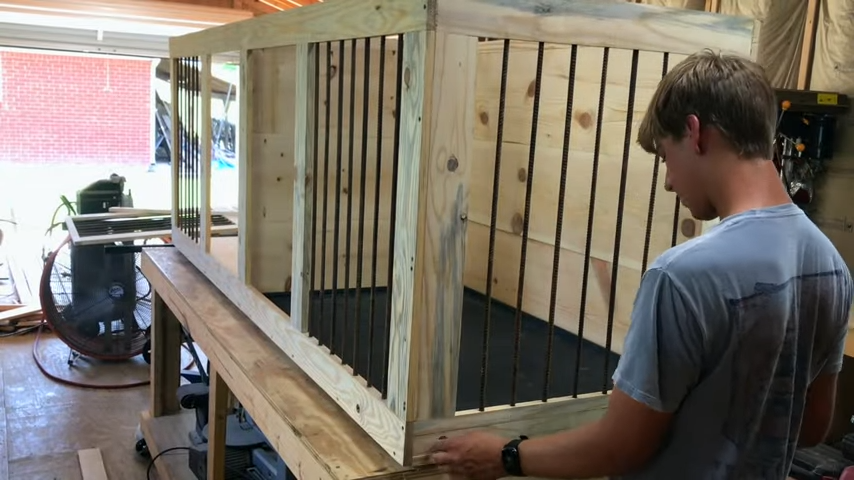
Moving on to the front, I marked and drilled all the holes for the rebar and, while also leaving room for the doors, I screwed the assembly together.
Drilling pocket holes for the front assemblyPutting the front assembly togetherScrewing the front assembly togetherCompleted front assembly
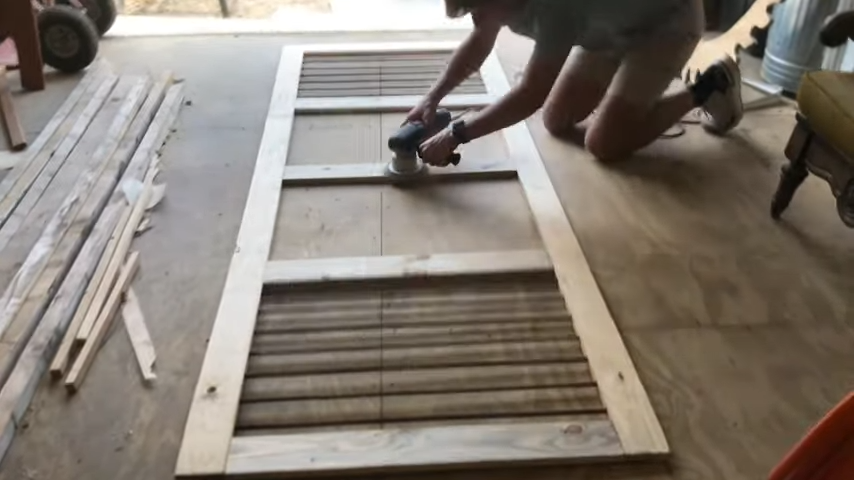
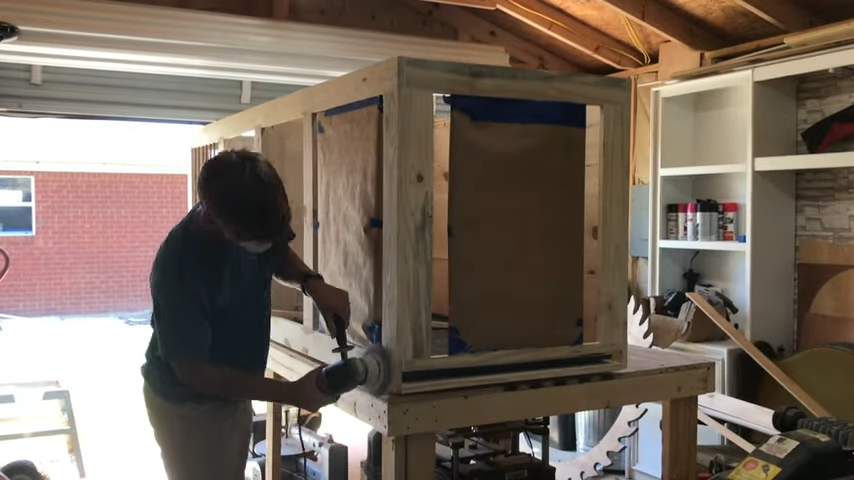
I then sanded everything that I had built already.
Sanding the back assemblySanding the sidesSanding the front assembly
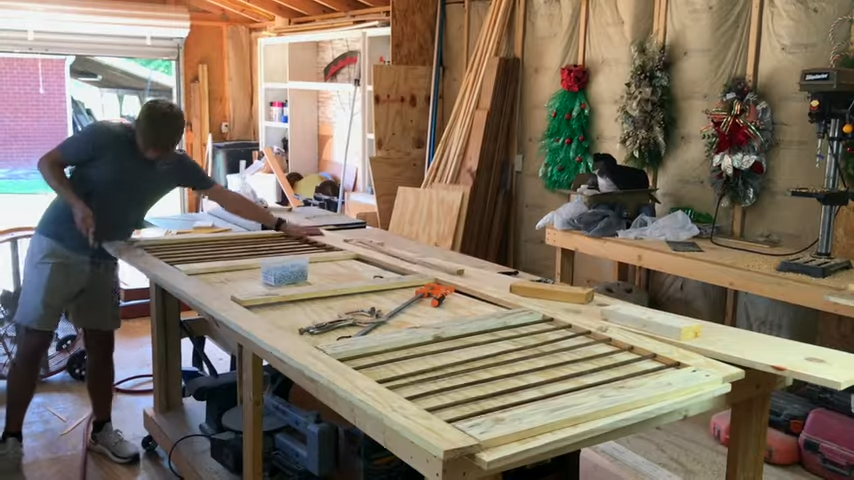
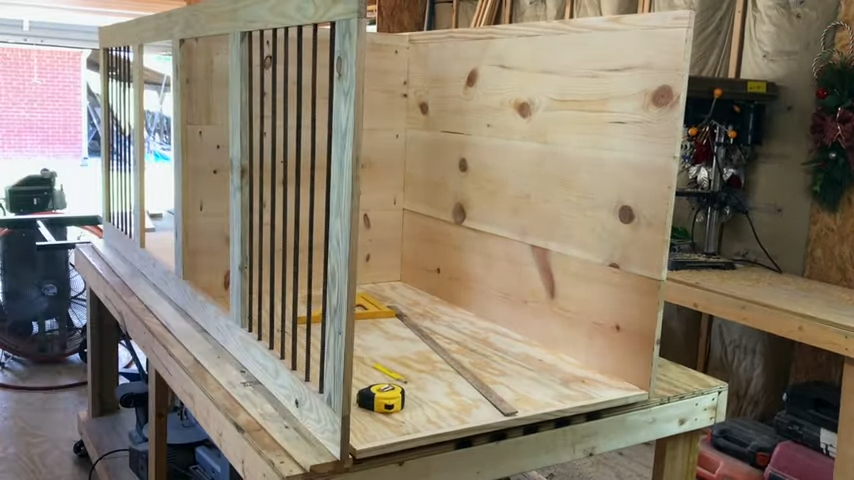
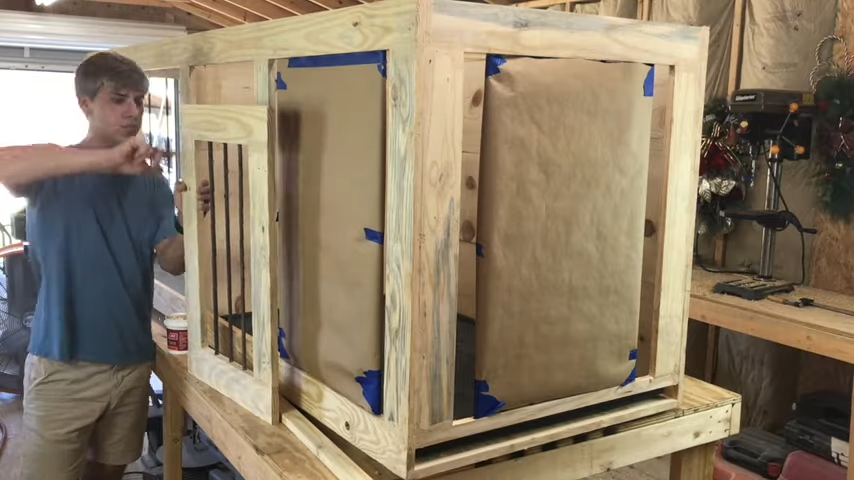
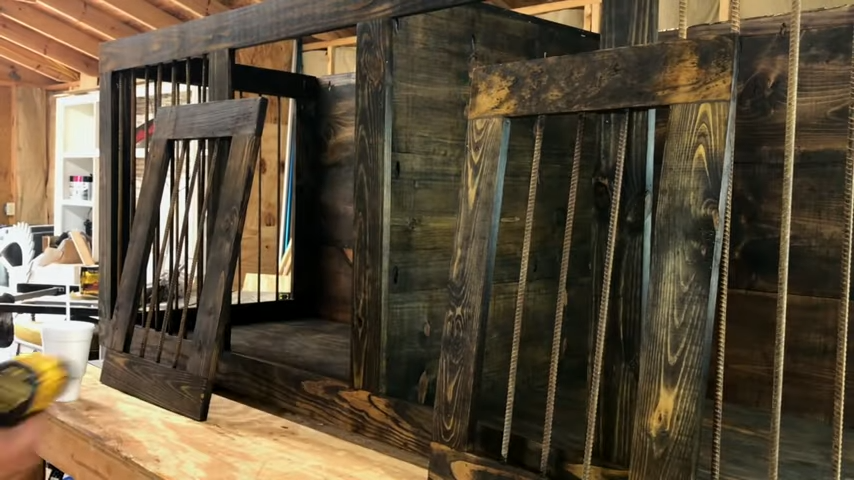
Next, I built a center divider the same way I did the back and then assembled all of my sides together.
Adding screws to back before screwing it in place on the bottom assemblyAdding the divider to the kennel assemblyDivider securely in placeAdding the front assembly
As you can see here, this is where you can take the bottom part of the side out so that you can slide the tray in and out.
Adding the side assembly with removable bottom plugA tray placed inside and bottom plug installedOther side assembly installed
Once all of the sides were put together, I screwed pocket holes in the top of each side so that later I can screw the top on.
Beginning to drill top pocket holesContinuing around the inside of the assembly to drill top pocket holes
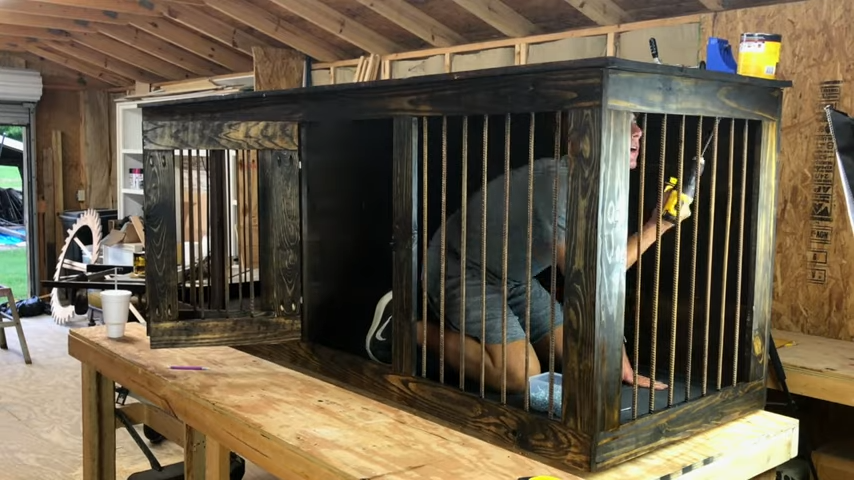
Next, I marked and drilled my holes for the rebar and I assembled the doors.
Marking doors for rebar installationSpacing out the holes for rebar installationDoor assembly completed
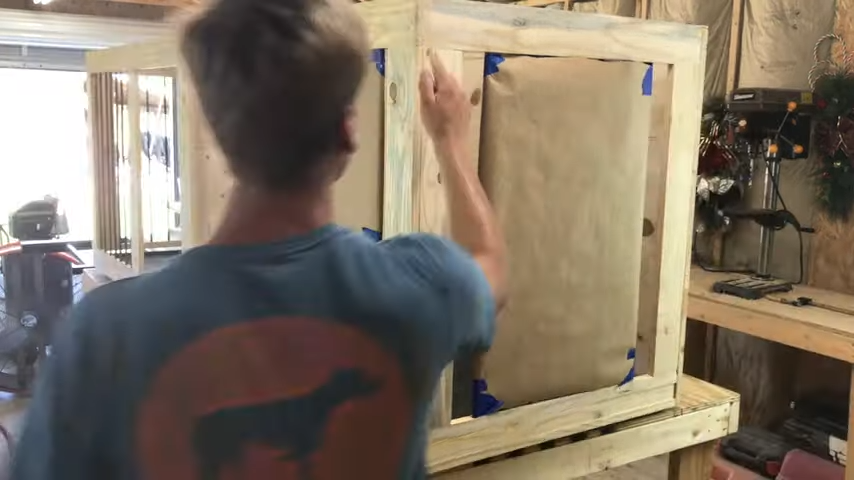
As you can see here, I am filling any visible cracks or screw holes with wood filler that I will later sand so I have a flush look.
Filling the holes and cracks on the face of the kennel with wood filler (I placed brown paper around rebar for when I stain it)Filling the holes and cracks on the doors of the kennel with wood filler as wellSanding the wood filler to ensure the assembly is smooth and ready for staining
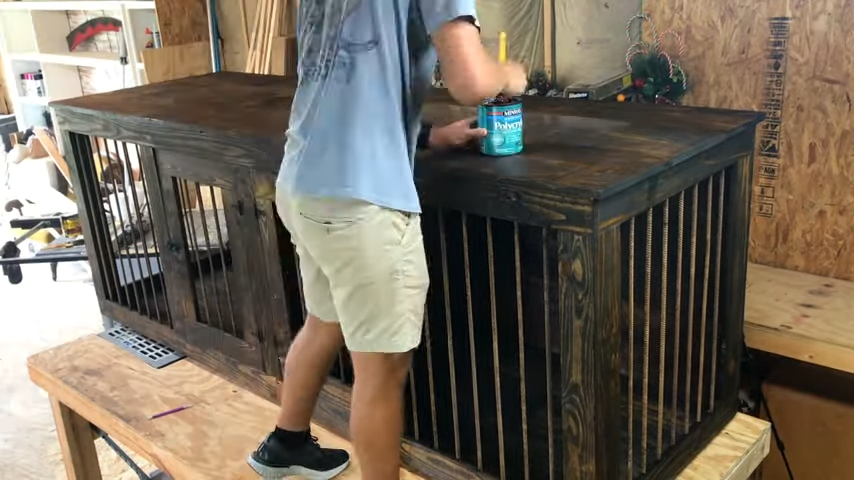
Next, using a cappuccino color, I stain the entire thing.
I begin by staining the insides of the kennel assemblyThen I continue staining the outside of the kennel assemblyAs well as staining the doorsEverything stained and dried, ready for the next steps
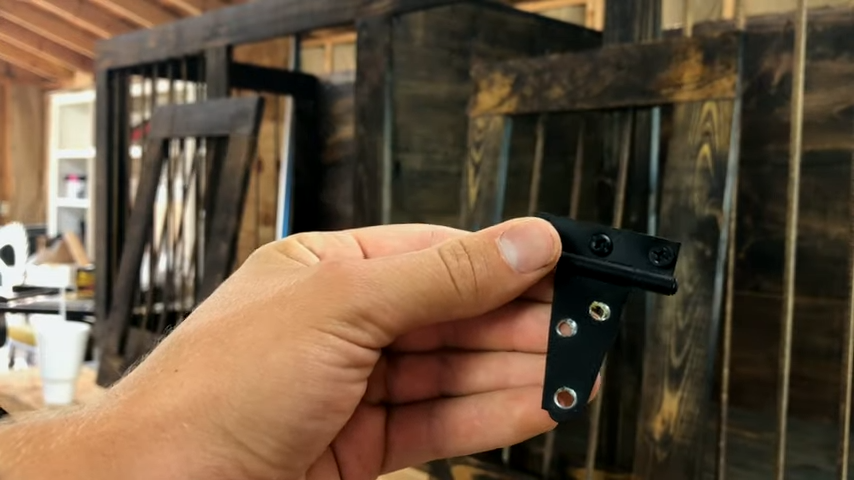
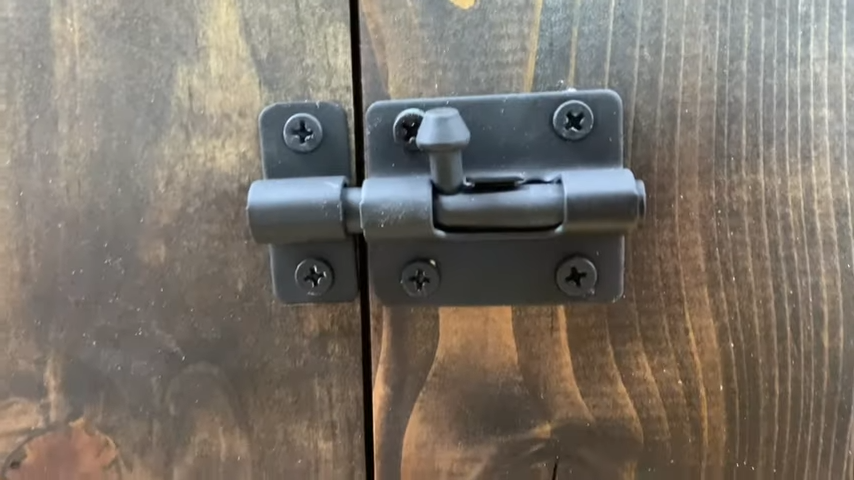
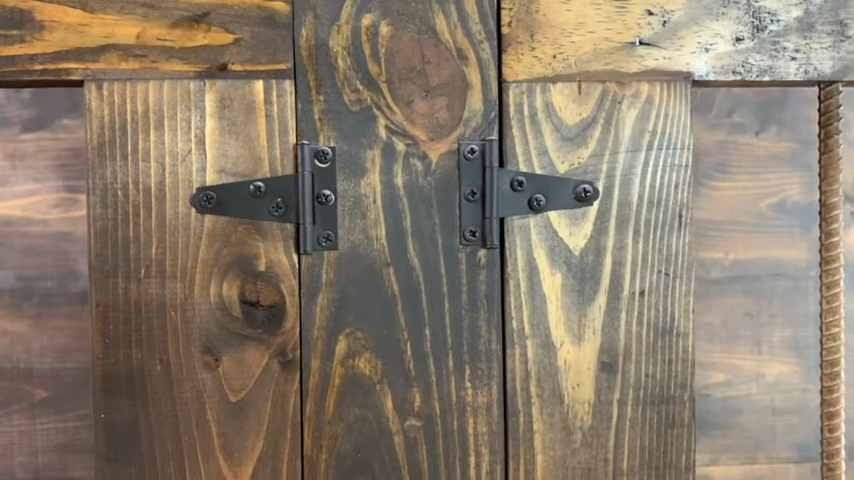
I used these hinges that I painted black to attach the doors and I also attached barrel bolt locks to the doors so that they can lock.
Door hinges painted blackInstalling the door hingesBarrel bolt installedHinges of both doors after installation
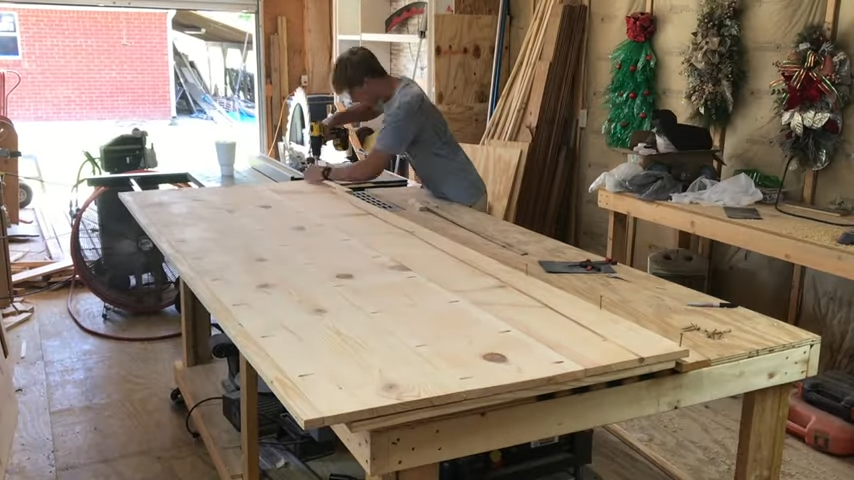
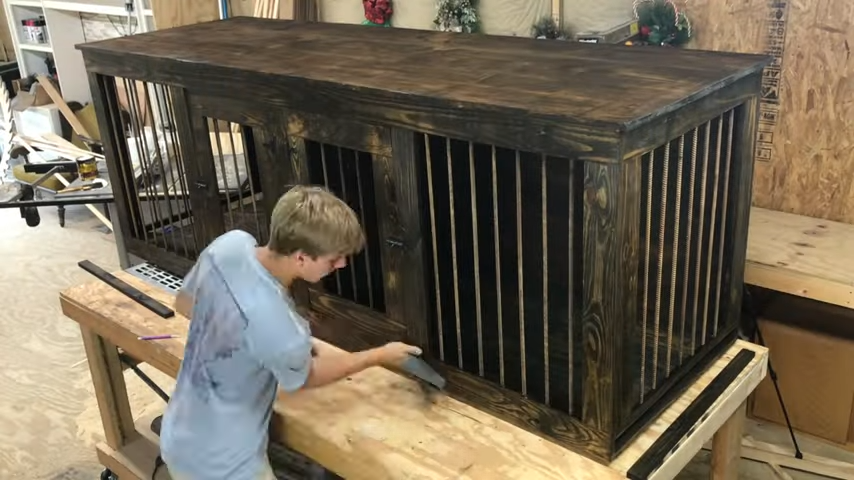
I used pocket holes to join the top together, and then I sanded and stained all of it.
Assembling the top similar to the backSanding the top assemblyStaining the top assembly
Once the stain had dried, I laid the top on it and then attached it.
Attaching the top assembly to the front, sides, divider, and back pieces
Finally, I coated the entire thing with the satin polyurethane and once it had dried I sanded it with high-grit sandpaper to smooth out any imperfections in the poly coat.
Sealing with a good polyurethaneSanding with a high-grit sand paper to remove any imperfections


