

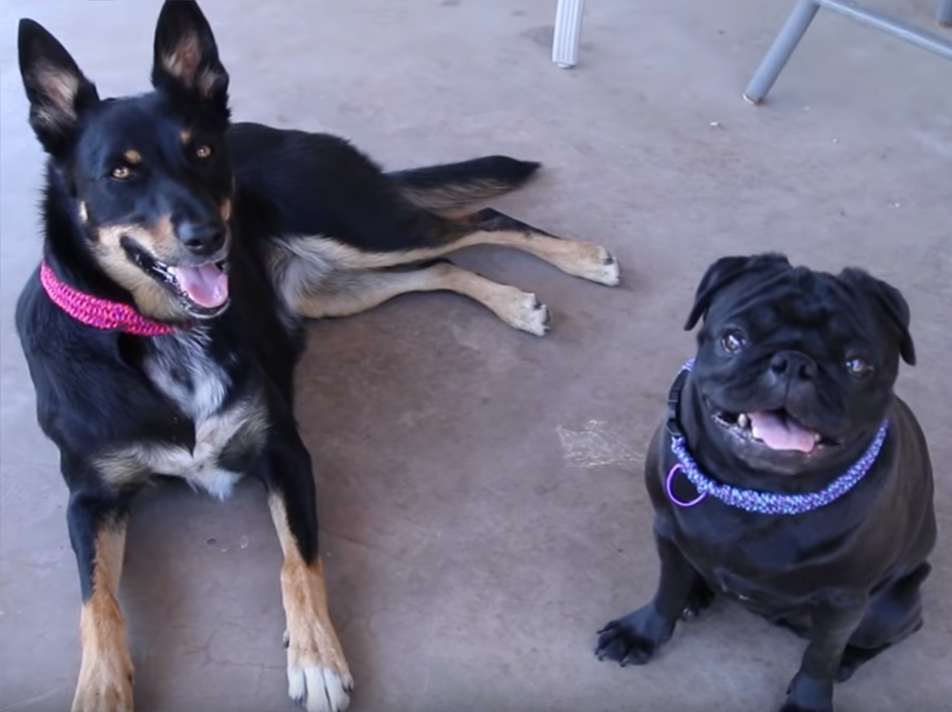
Every fabulous dog should have an equally fabulous accessory, and a handmade paracord dog collar is a perfect way to show off both your handy-work as well as your love for your furry friend! This tutorial will show how to make both a medium to large, one-inch wide collar for larger dogs, and a smaller three-quarter inch wide collar for smaller ones.
Tools Required
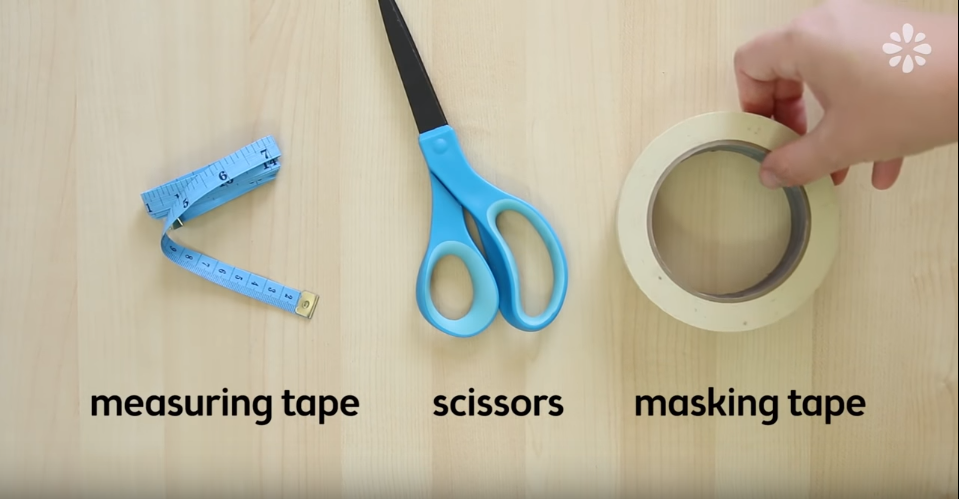
- Measuring Tape
- Scissors
- Masking Tape
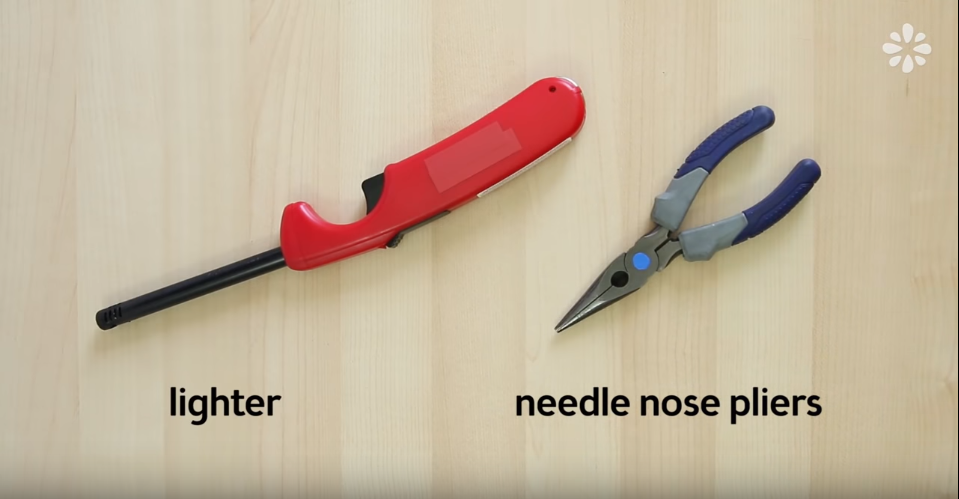
- Lighter
- Needle-Nose Pliers
Materials Needed
MEDIUM / LARGE DOG COLLAR (1″ Trilobite)
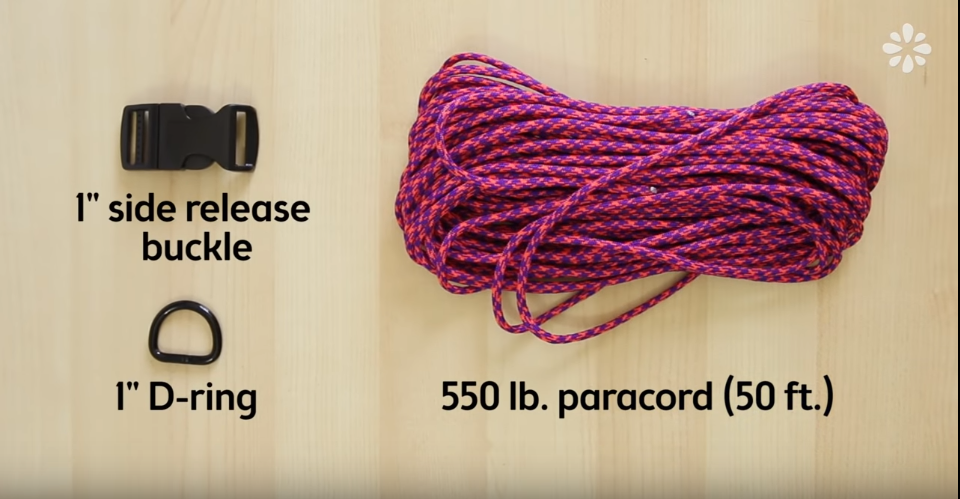
- Paracord (550 lb., 50 ft.)
- 1″ side release buckle
- 1″ D-ring
SMALL DOG COLLAR (3/4″ Fishtail)
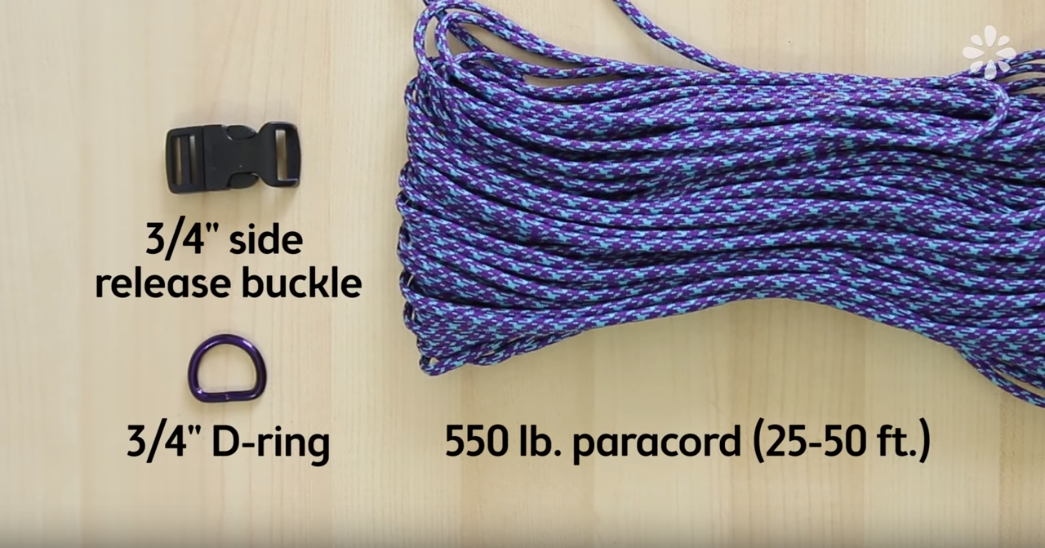
- Paracord (550 lb., 25-50 ft.)
- 3/4″ side release buckle
- 3/4″ D-ring
Instructions – Medium/Large Collar
#1. Measure The Dog's Neck

Using the tape measure, measure around your dog's neck, making sure there is some wiggle room by inserting fingers between the tape and their neck. This ensures there is ample breathing room due to this not being an adjustable collar.
#2. Figure Out How Much Paracord Is Needed
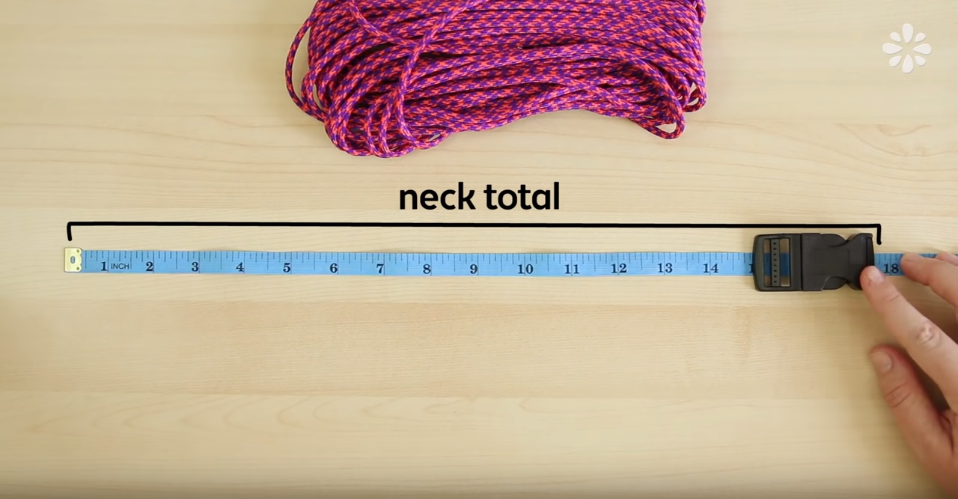
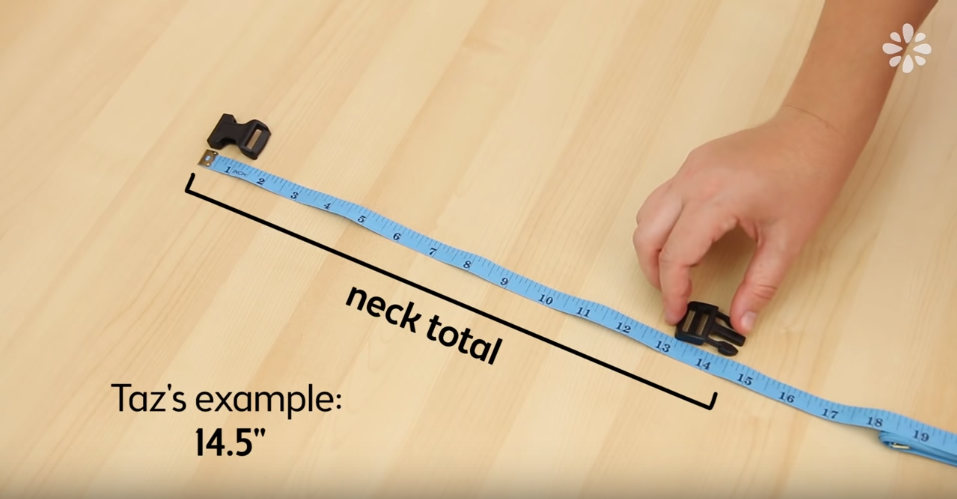
Lay out the tape measure on the work surface (such as a table or desk) and note were the measurement of the neck should be. Place the buckle into that measurement.
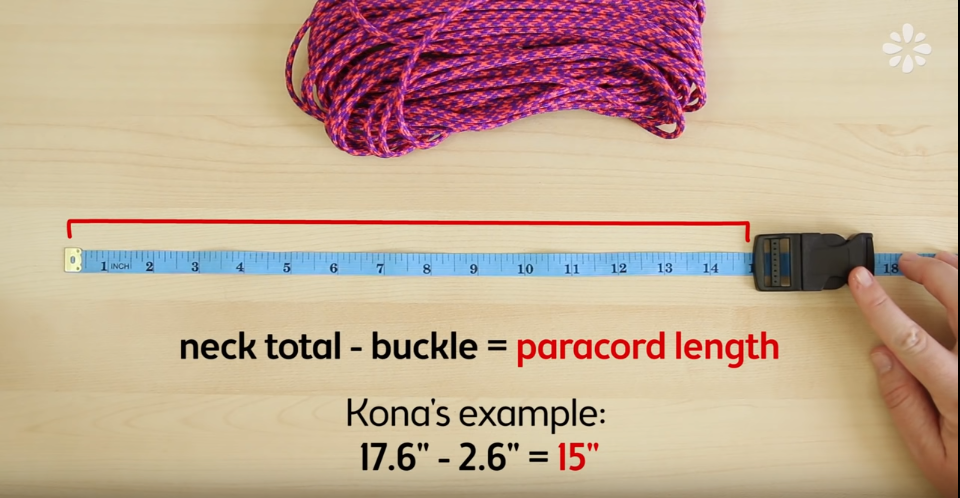
To figure out the paracord length simple subtract the buckle from the neck's total measurement. In this example, the paracord length is 15 inches.
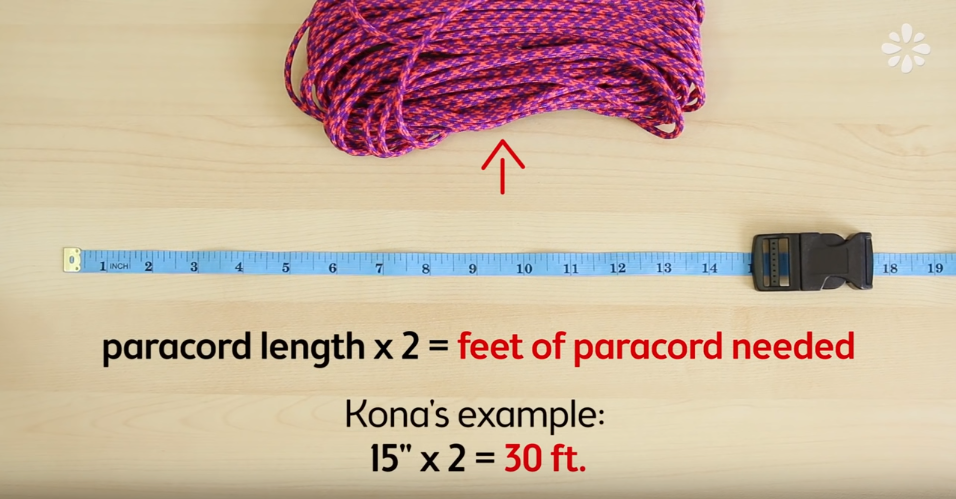
Next, the the paracord length number and multiply that by two. This will provide you with how many feet of paracord is needed for this project. In this example that is 30 feet. (Note: This is an estimate and you most likely will end up with extra paracord in the end, but having more is better than having too little.)
#3. Cut And Prepare Paracord For Project
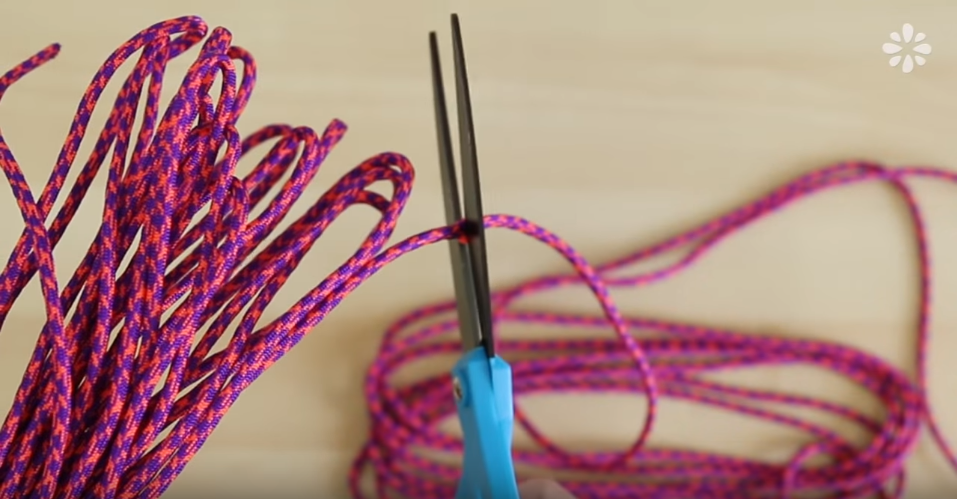
Measure out the amount of feet you figured out from the steps above from the paracord bundle.
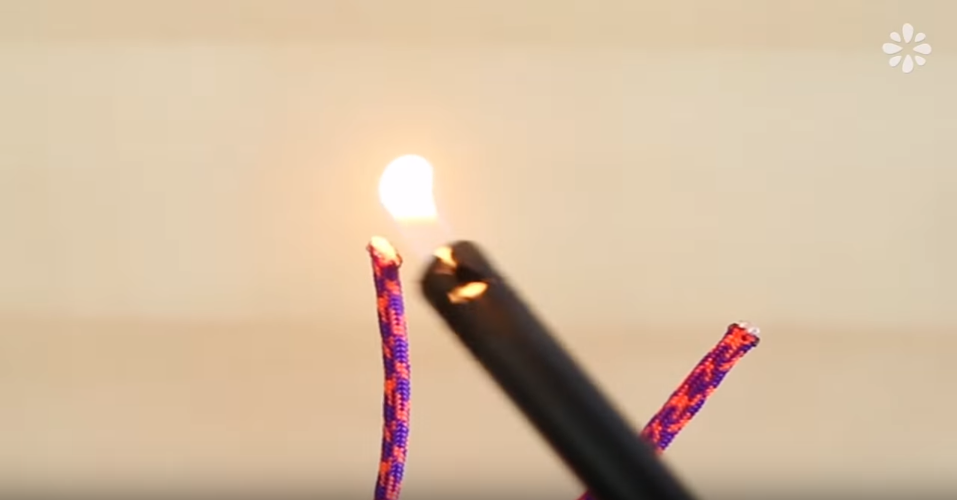
Trim the ends of any loose nylon threads then seal them using the flame from your lighter. This will ensure your paracord will not come apart.
#4. Set Up Work Surface For Paracord Braiding

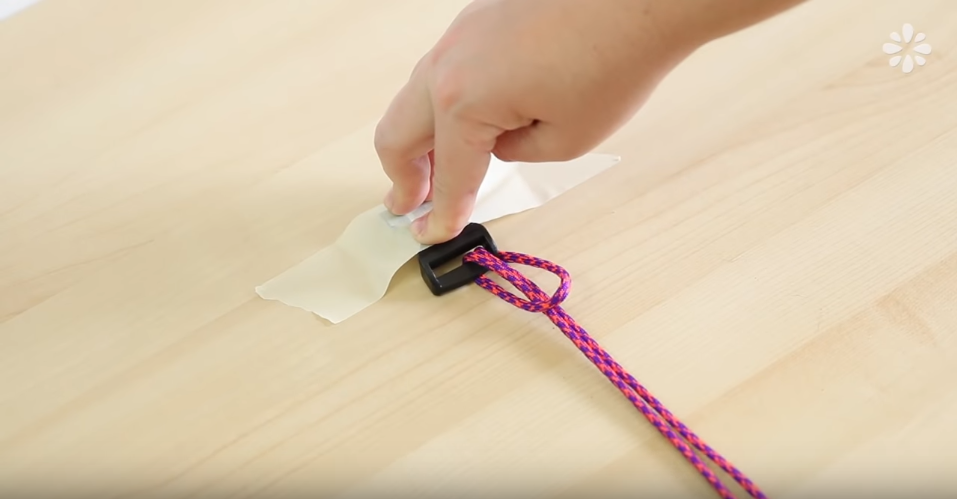
Using your dog's total neck measurement, lay out the measuring tape once more on your preferred work surface. Unhook the buckle, turn the pieces around so the bars face each other, then place them at opposite ends within the neck total length. Then, using the masking tape (or tape that will not harm your surface), tape down the clip ends so that they will stay in place.
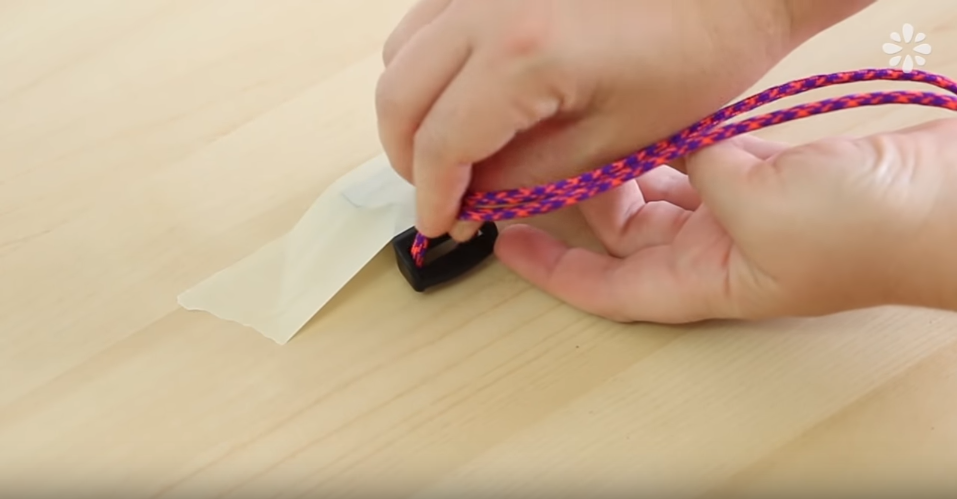
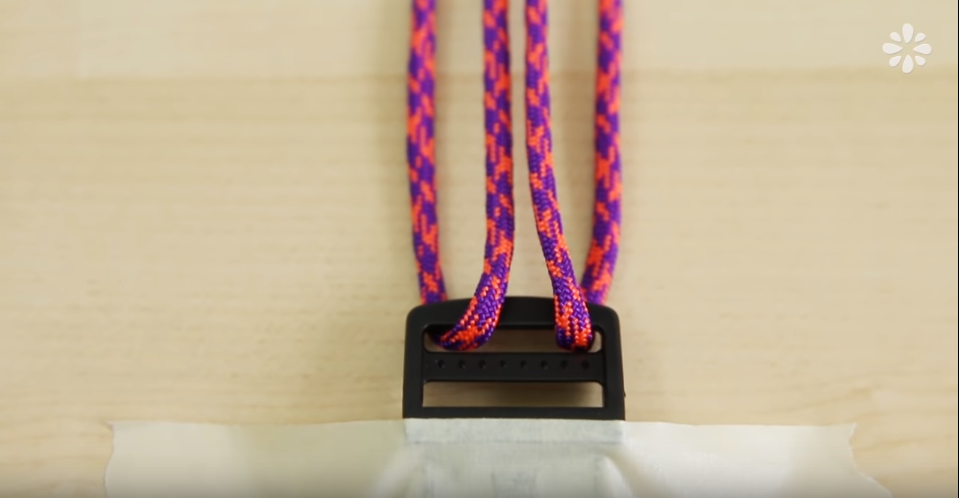
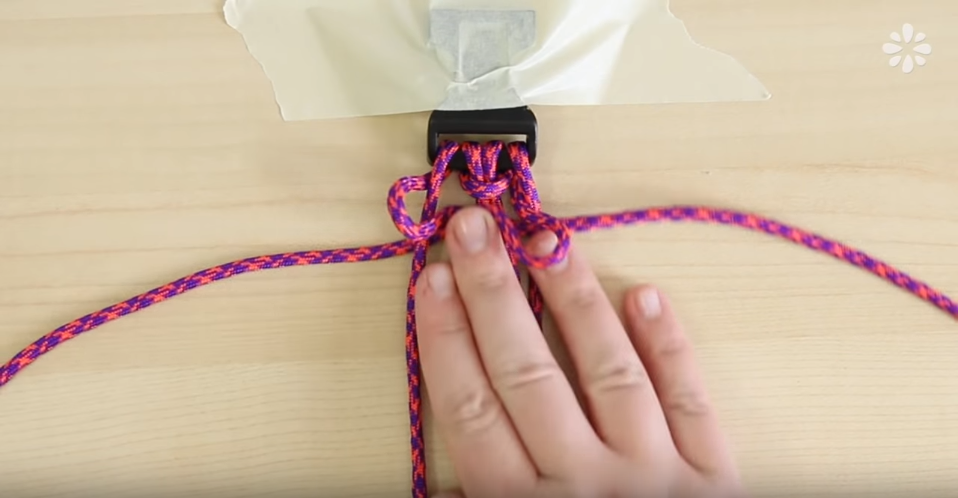
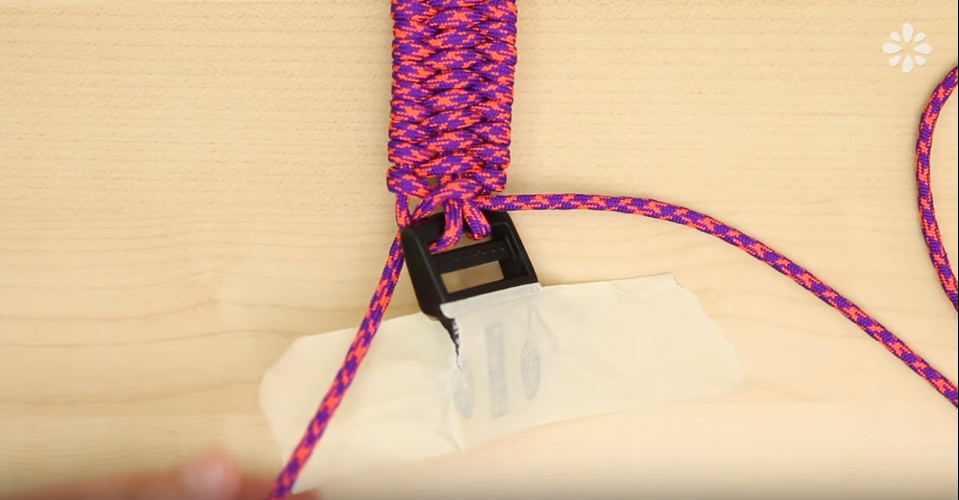
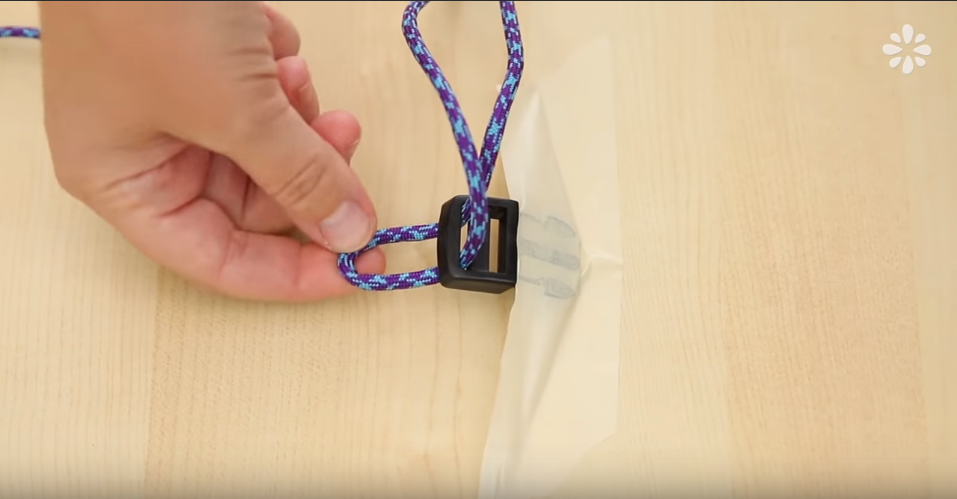
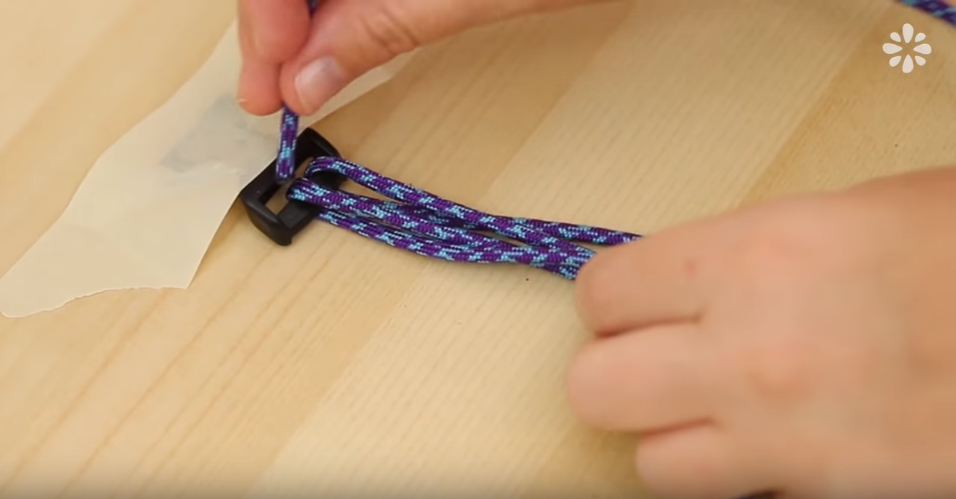
Bring the two ends of the paracord together then drag them through your fingers to find the middle. Take this loop and place it in the top buckle…

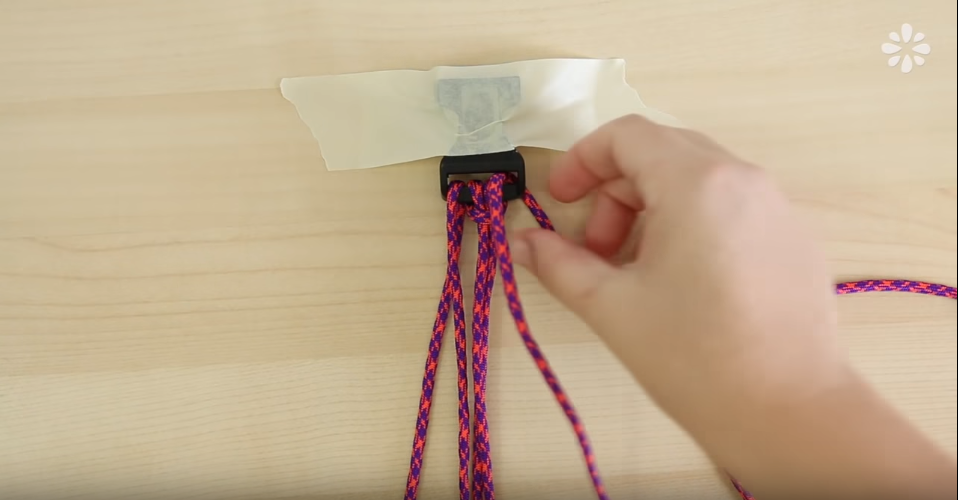
Pulling the loop under the bar and downwards a short way…
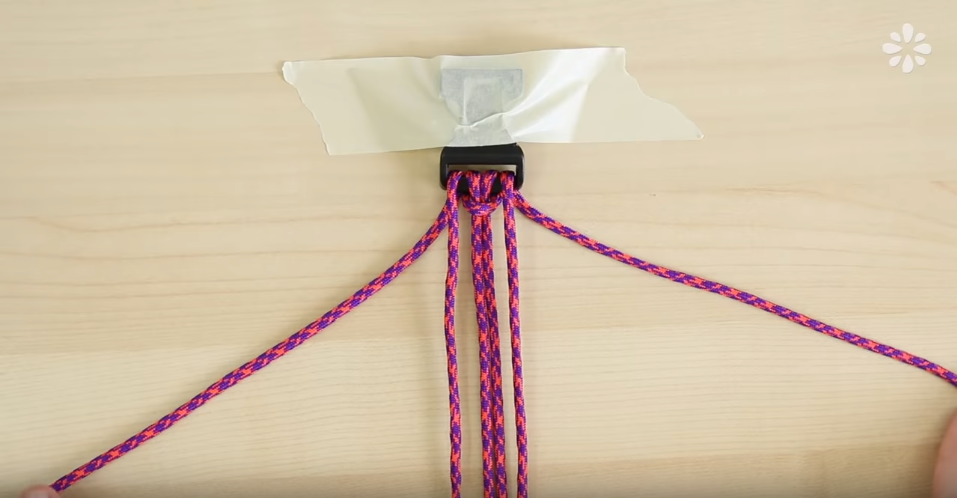
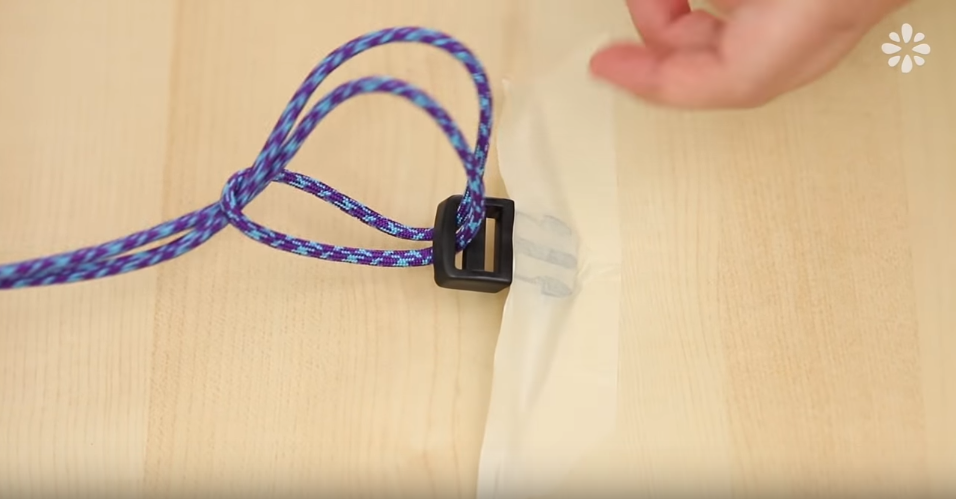
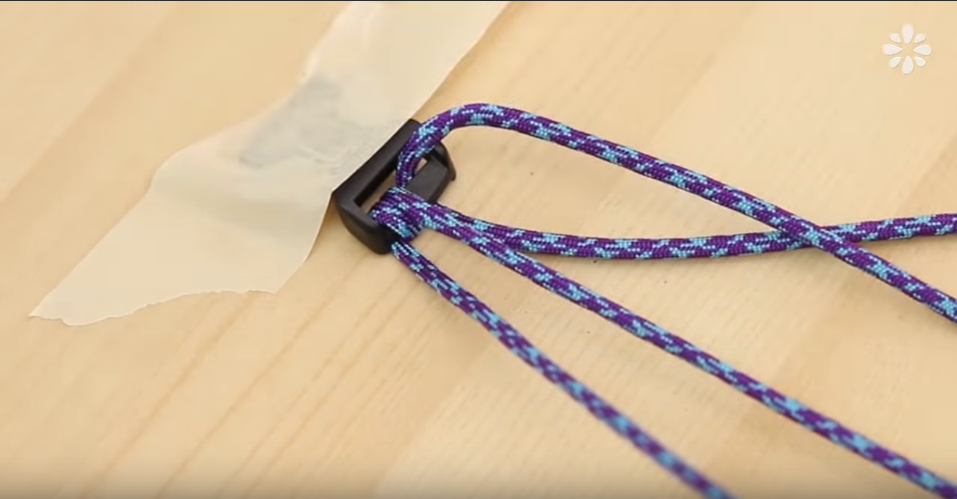
Then placing the other ends through this loop and pulling it tight is order to form a knot. Slide this knot to the center of the buckle's bar.
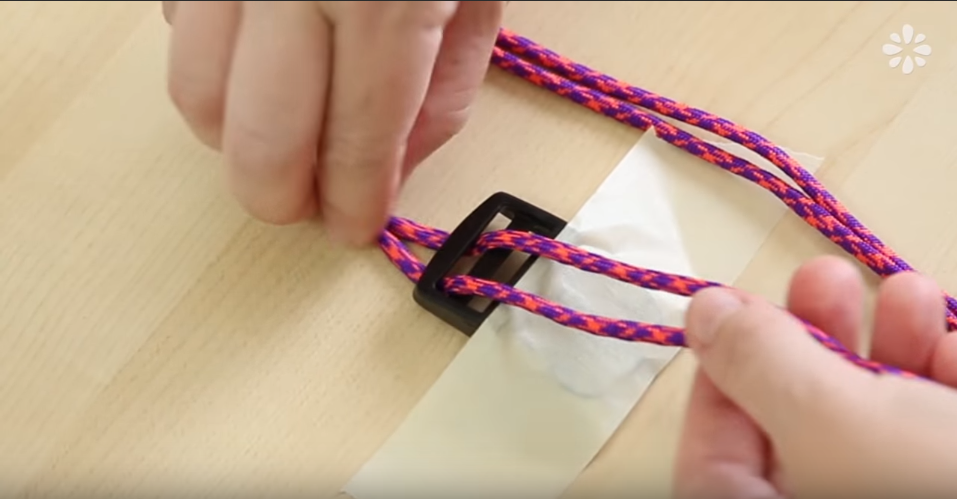
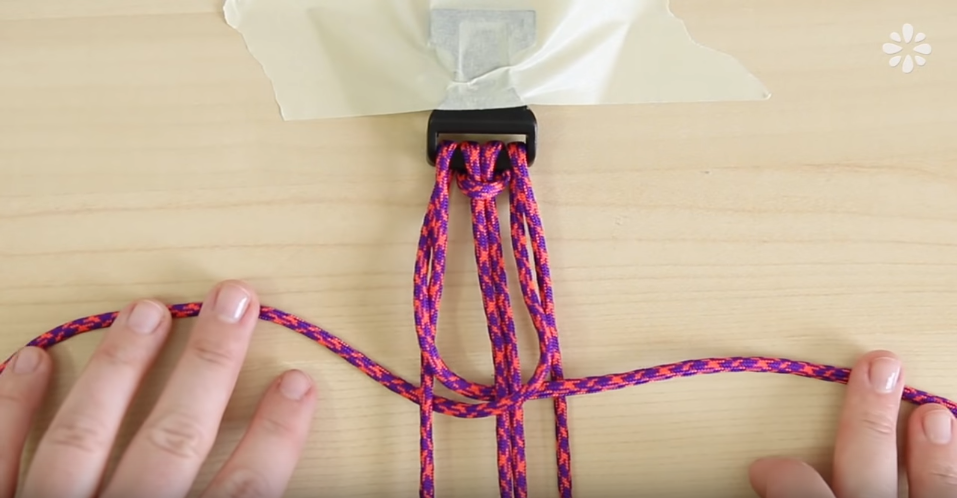
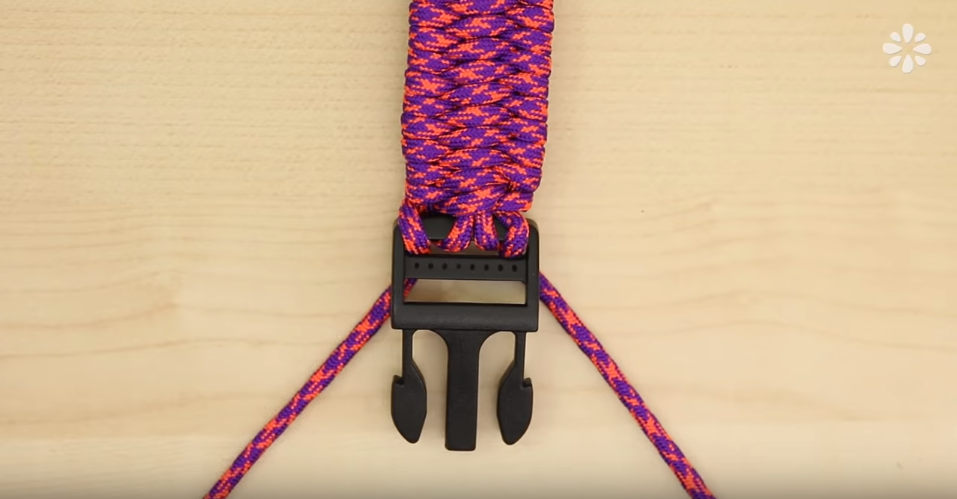
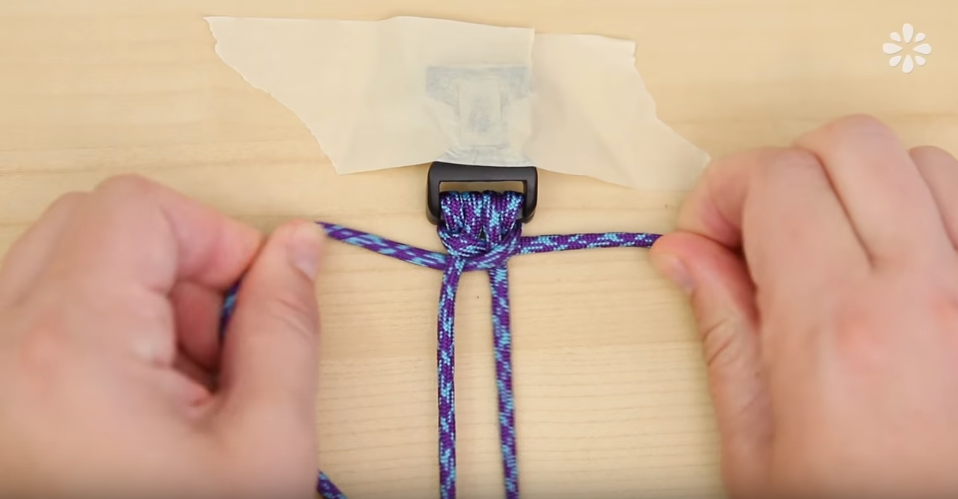
Next, take the two ends and, laying them over the opposite buckle, thread them through the buckle as shown. Pull these strands through, returning the the other buckle once more.
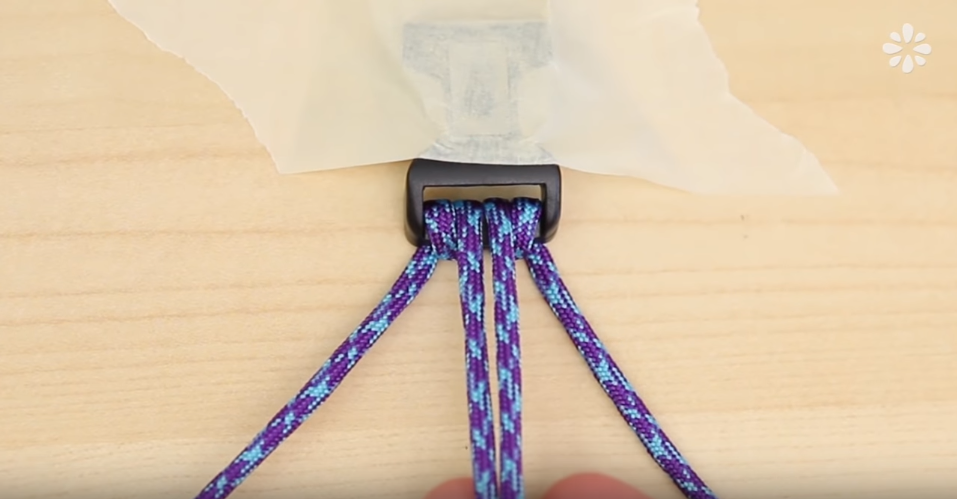
Thread the left cord over and through the bar on the left of the knot, then do the same wit the right cord, pulling through until the cords are all the way drawn.
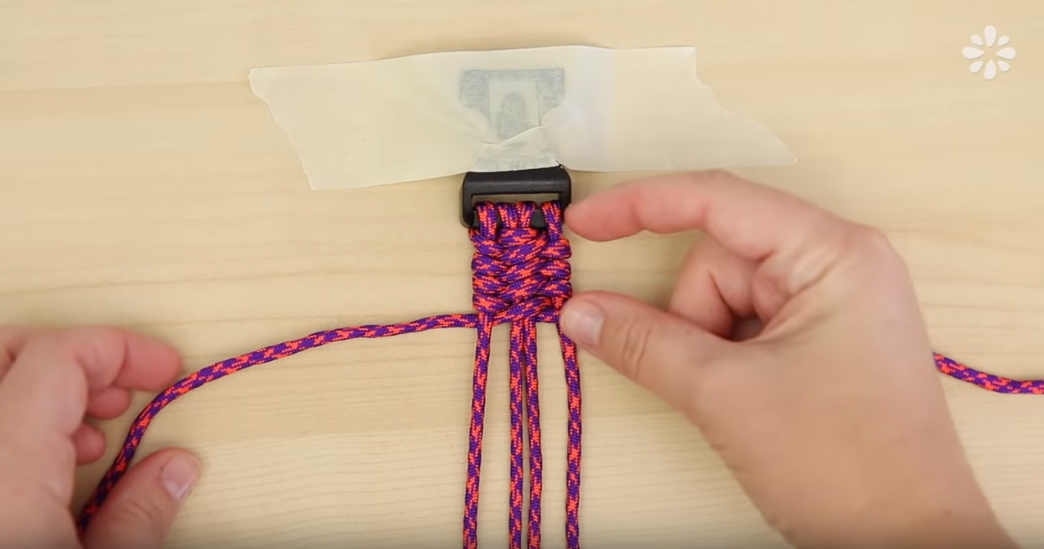
You should now have two left cords, two middle cords coming from the knot, and two right cords.
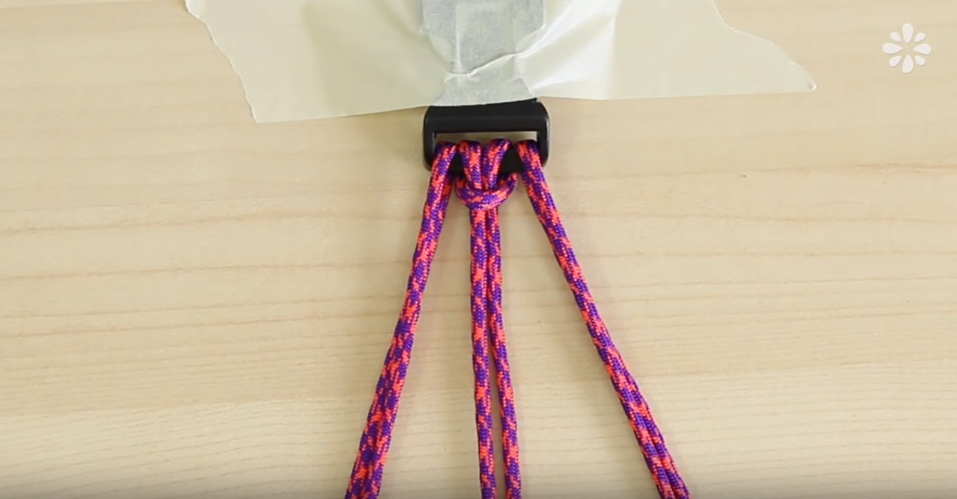
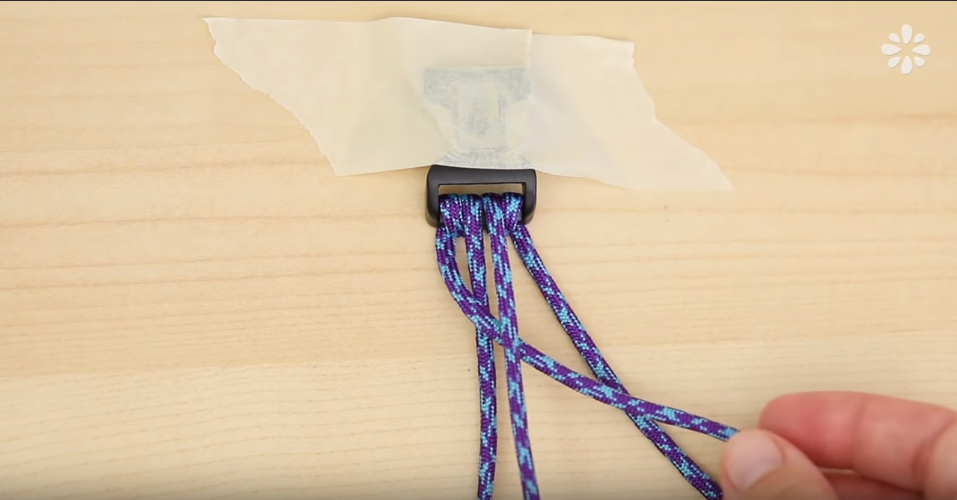
This is how the bottom buckle should appear. You are now ready for the braiding of the DIY paracord dog collar.
#5. Braid The Paracord Dog Collar
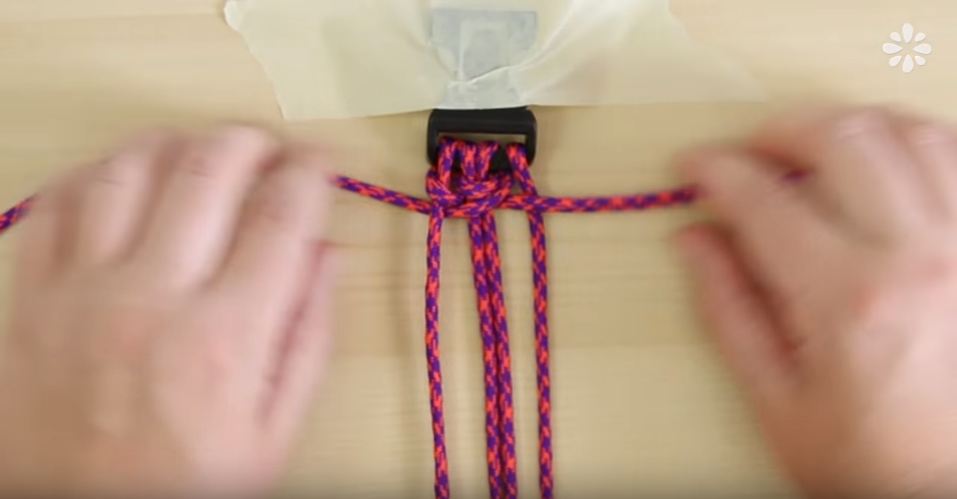
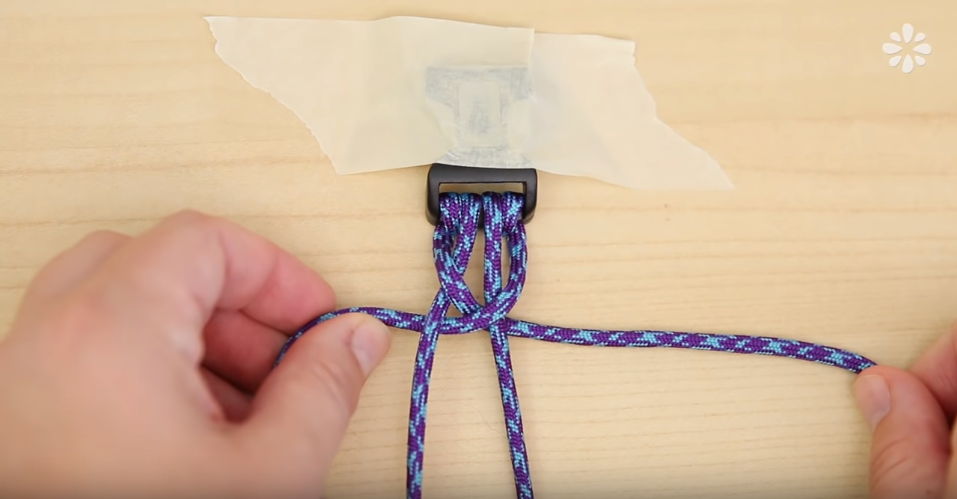
To begin and make the braiding process easier, draw out the two outer strands as shown. You will begin with the left strand.
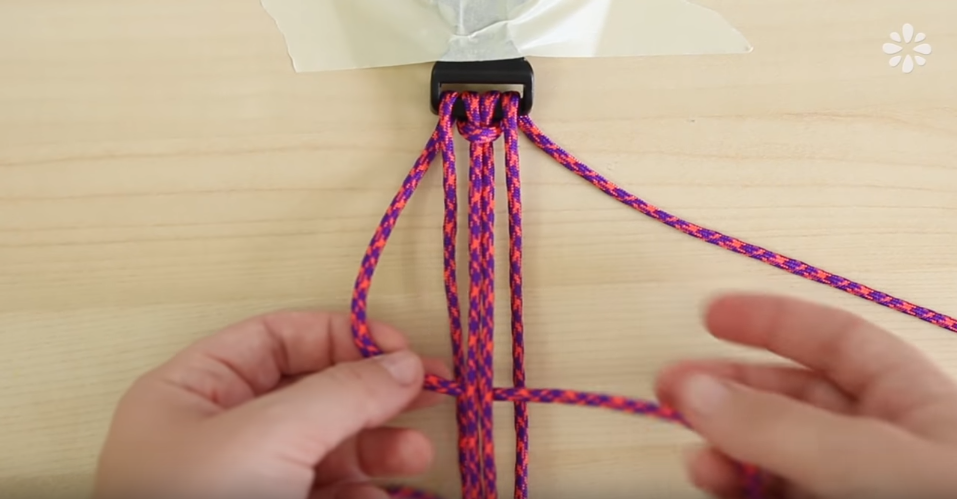
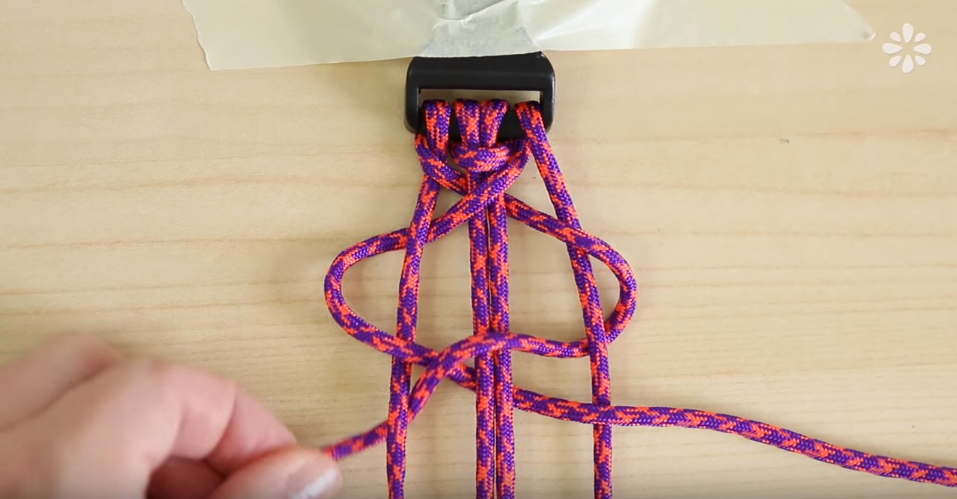
Take the strand on the left and place it over the first outer strand, under the two middle stands, then over the other outer strand.
With the right outer working strand, do the opposite of above, going under the first strand on the right, over the two middle strands, and under the strand on the left.
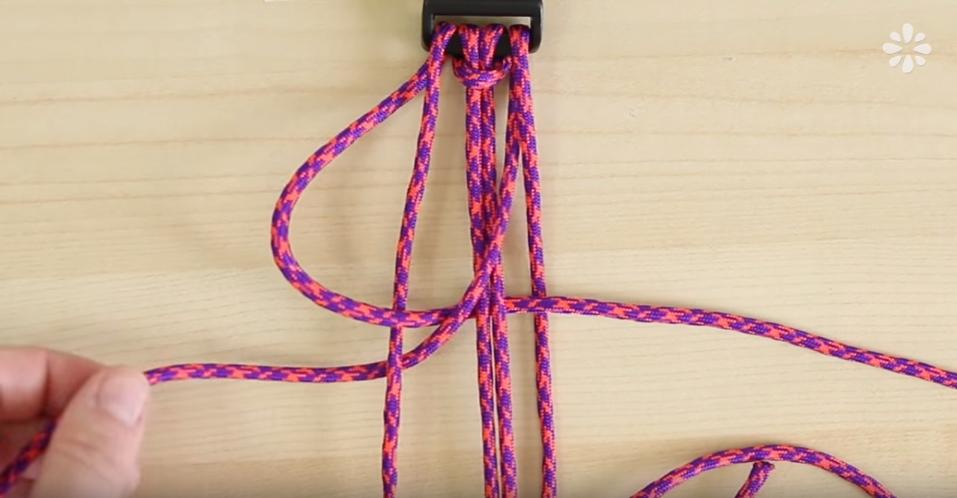
Pull the ends to tighten…
Pushing the braid up to the buckle…
And tighten this once more.
Simply repeat this process of braiding, tightening, pushing the braid up, and tightening once more to create the dog collar's trilobite design.
#6. Add D-Ring To Collar 1″ From Buckle
Continue braiding for about one inch (about 4 to 5 times). This is where you will place the D-ring.
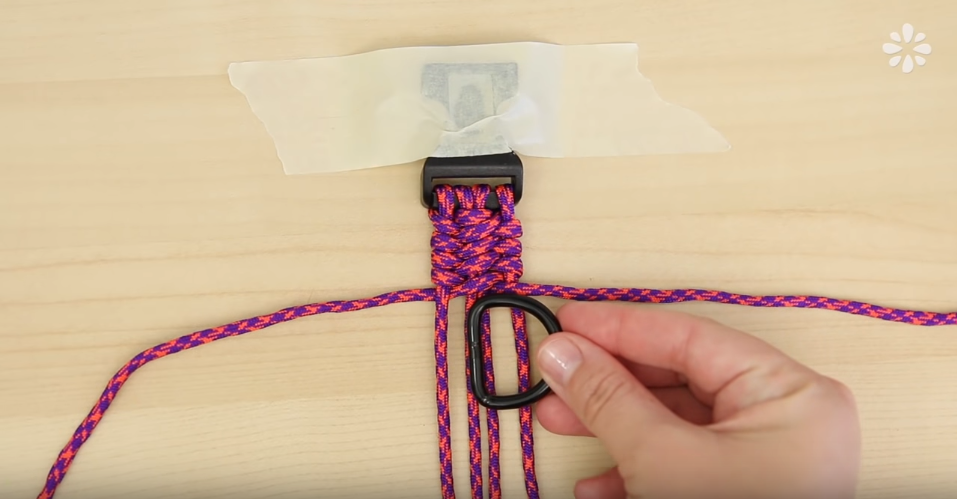
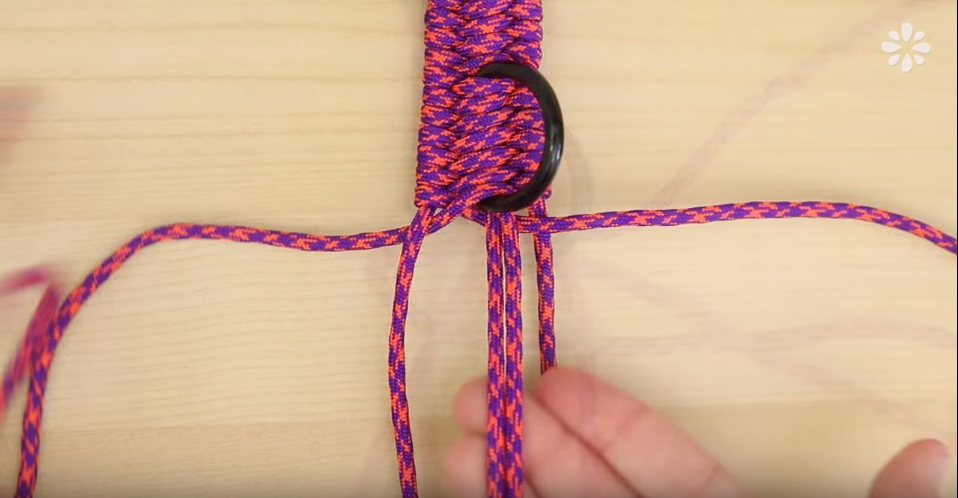
Lay the D-Ring down on the middle strands. You will be braiding the same way, but just as it the ring was part of the middle strands.

To begin, do the left strand exactly as you have done before, taking it over the outer strand, under the two middle strands, and over the outer right strand…
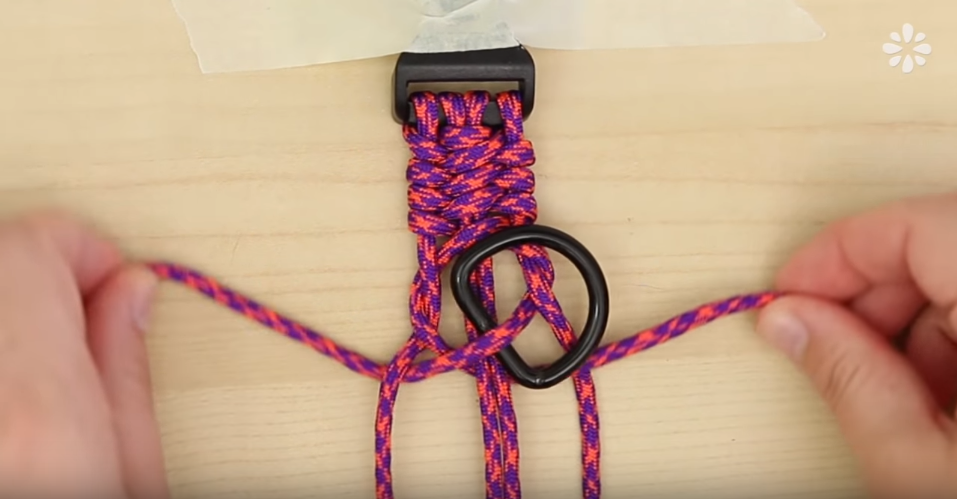
And then using the right active strand to go under the first right strand, trough the D-Ring and over the two middle strands, and under the outer left strand…
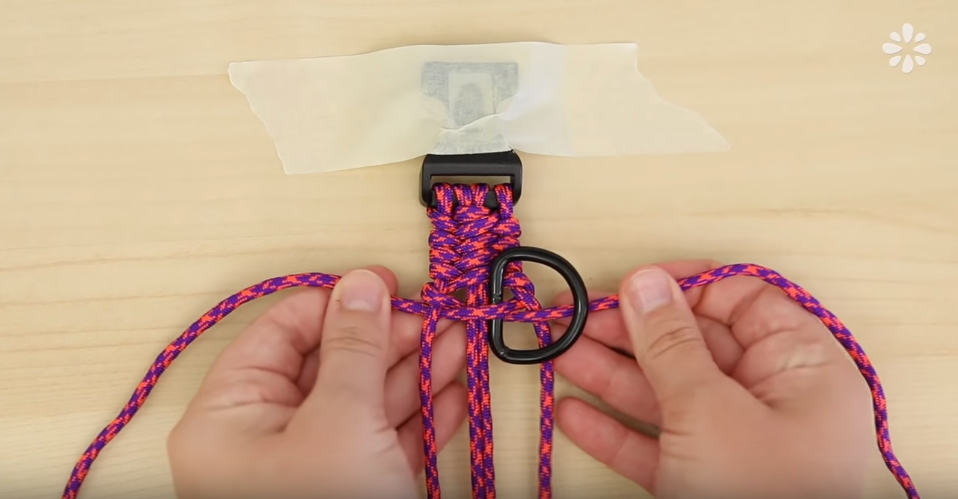
Pushing the braid upwards and tightening it, trapping the D-Ring on top of the two middle strands.
Continue doing this until you've covered the bottom of the D-Ring fully, then return to regular braiding down the remainder of the collar. (Tip: If you bundle together the left strand and right strands, it makes the braiding a little easier)
When you get a few inches from the end, pull up on the braiding. You will quickly realize that there is actually more space left for braiding. Doing this makes your collar more thick and solid than before.
#7. Finishing Off
Continue braiding until you cannot do so any longer.
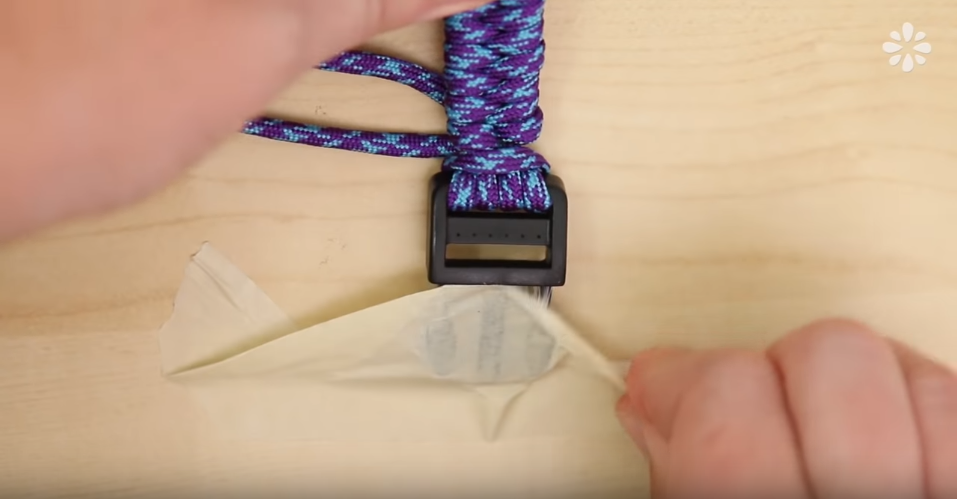
Remove the tape from the bottom buckle, then draw the left and right strands through the buckle as shown. Remove the tape from the other buckle as well, then flip the collar over.

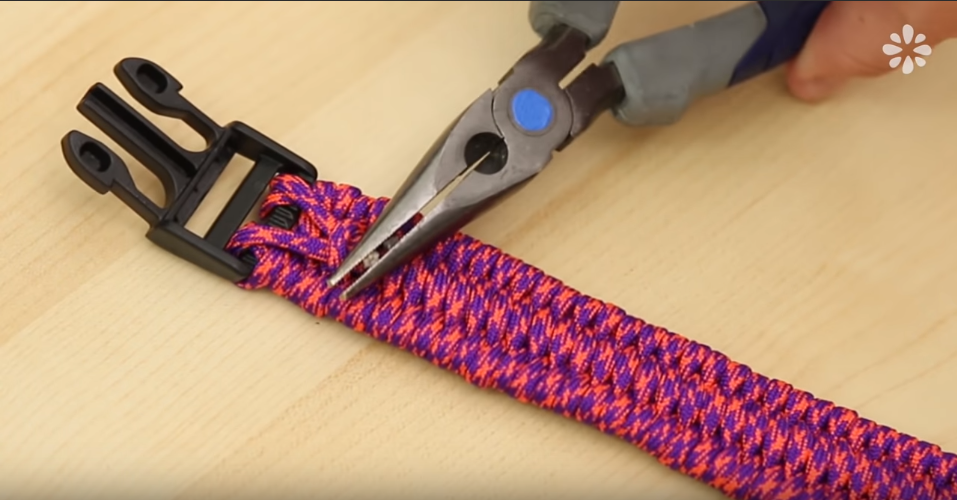
Using your needle-nose pliers, loosen one of the middle braids, somewhere around the third one down from the buckle.

Draw the tow cords through this braid, then trim, leaving about 3/4″ or so.
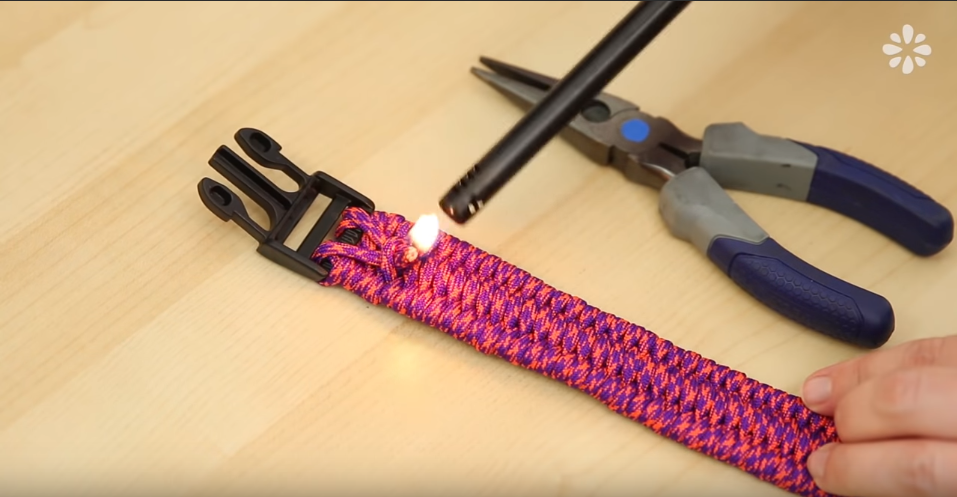
Seal the ends with the lighter….
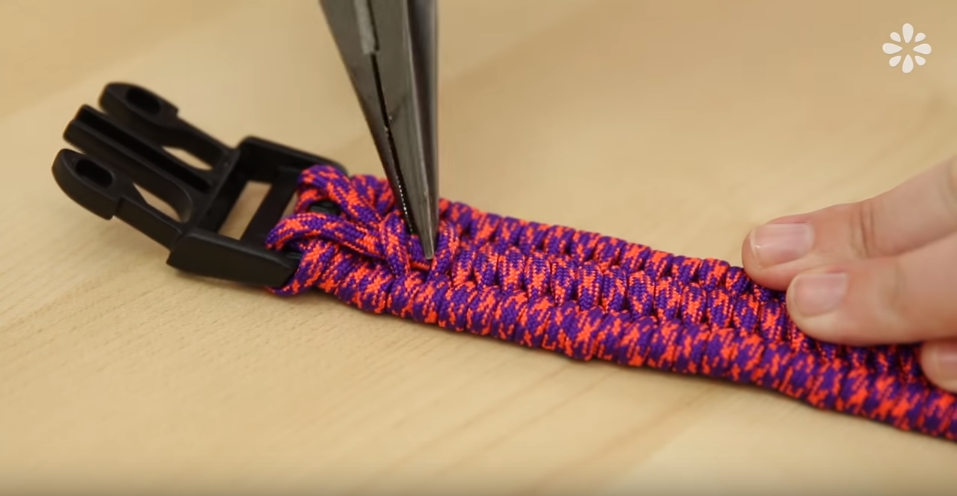
Then, using the needle nose pliers, quickly grab hold of the melted ends…

And pull down, twisting the pliers, turning the ends under. This is so the ends don't scratch your dog's neck.
As an extra precautionary step, you can loosen the link below and place the ends underneath it with the pliers.
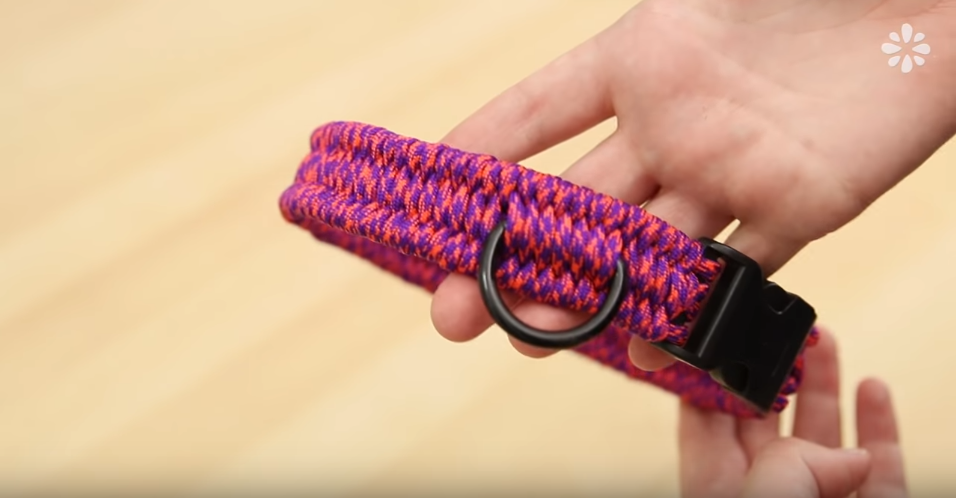
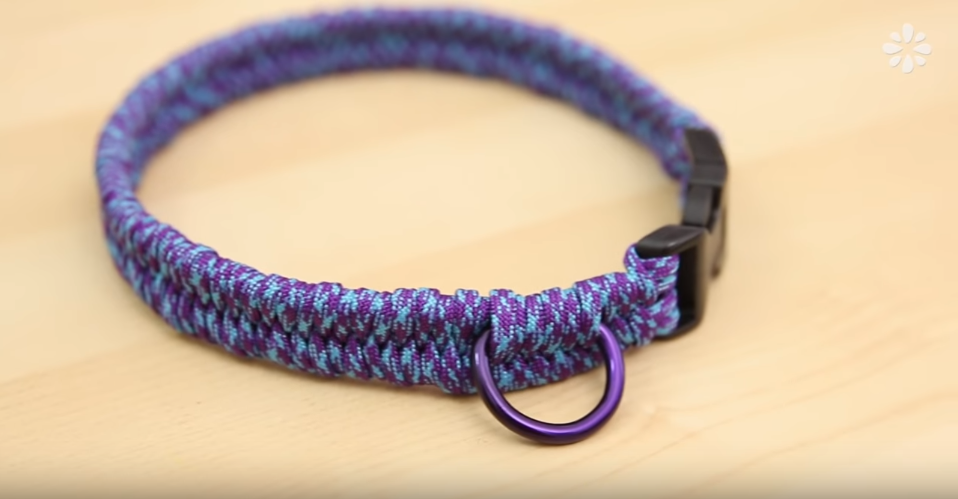
Congratulations! Your DIY paracord dog collar for medium to large dogs is now complete and ready for your favorite pooch to wear! But what if you have a smaller dog? Don't fear, below are the instructions for their collar as well.
Instructions – Small Collar
#1. Measure Neck And Determine Paracord Length
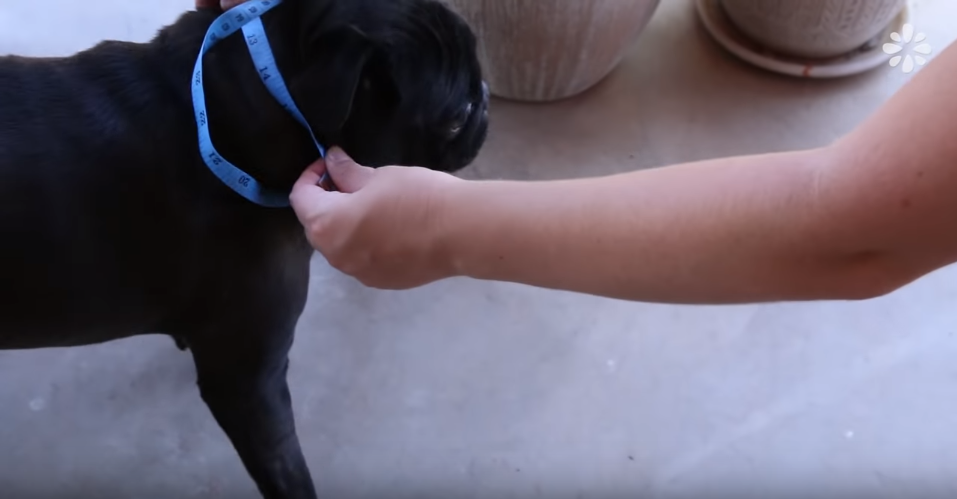
As above with the larger collar design, measure the smaller dog's neck, placing a couple of fingers between the tape and the neck to add breathing room.
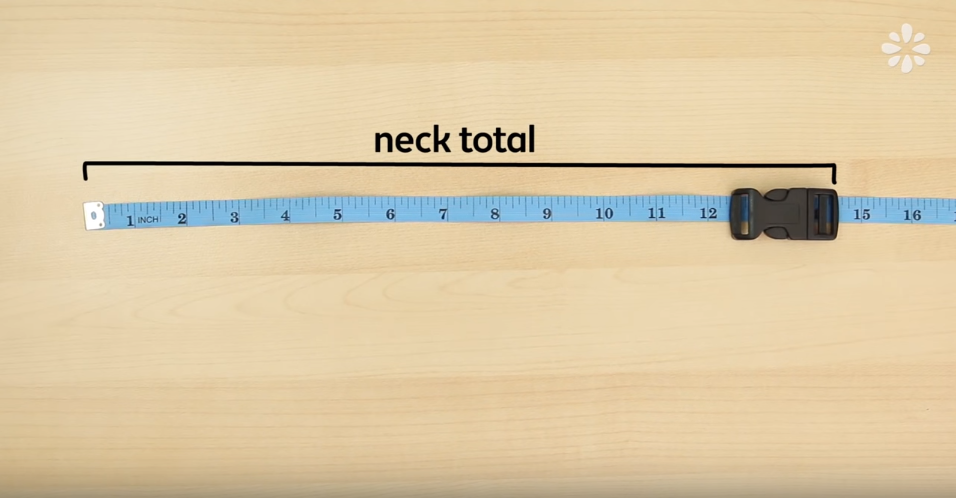
Place the tape measure on the work surface and then place the 3/4″ buckle on the tape at the end of the neck total measurement.
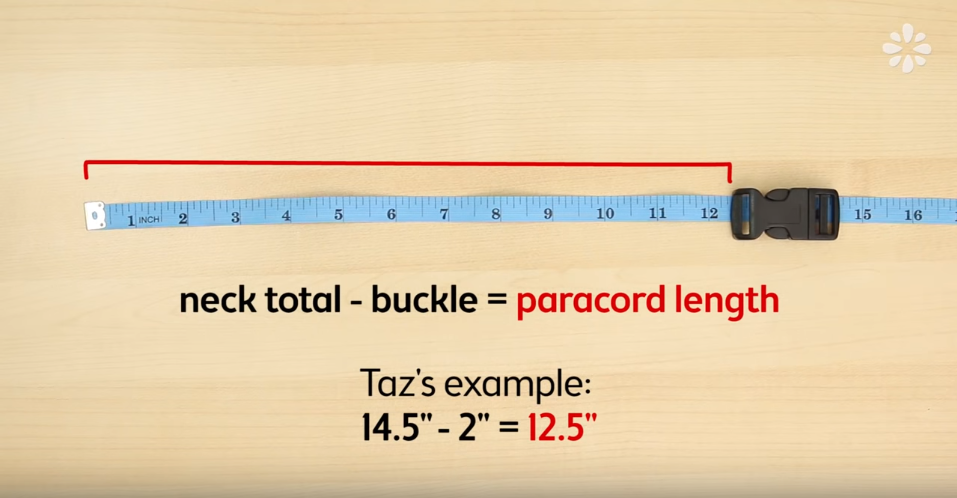
As before, the neck total minus the buckle is equal to the paracord length. In the example, Taz the pug is 12.5 inches.
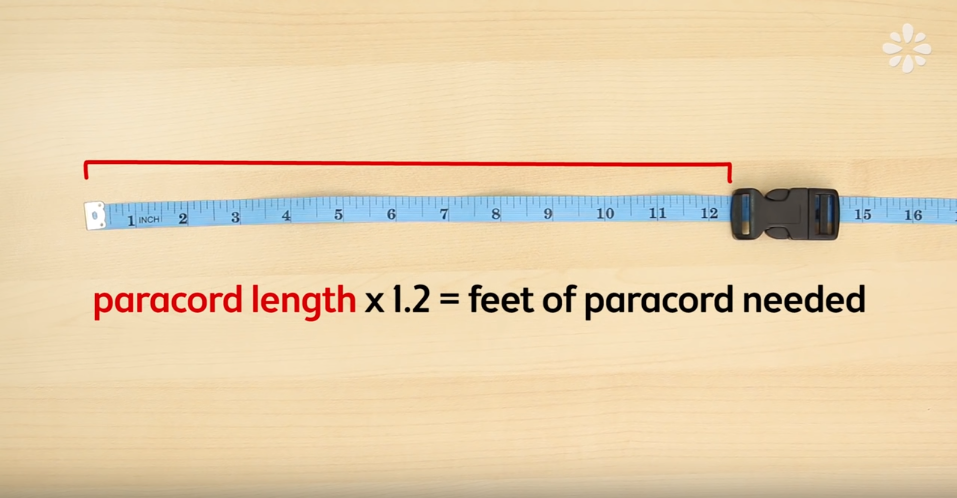
Being this is a smaller project, this time you take the paracord length and multiply that by 1.2 to find out how many feet of paracord you will need. Continuing our example, Taz would need 15 feet of cord.
#2. Cut And Seal Paracord, Then Prepare Work Surface
Cut the required length, trim the ends of the paracord, then melt the ends with the flame from the lighter as needed to seal.
Lay out the measuring tape, unsnap the buckles and place as shown. Using removable tape, tape down the buckles to the work surface.
Find the middle of the cord then place that resulting loop through the bottom buckle (you may need to use the needle nose pliers to push it through.
Pull the two ends through the loop but do not tighten as before.
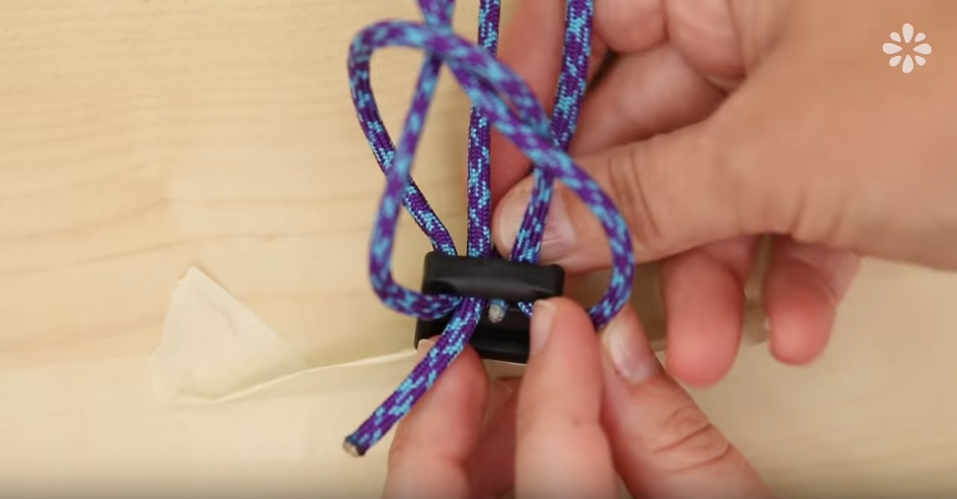
Instead, take the two ends through the buckle as shown…
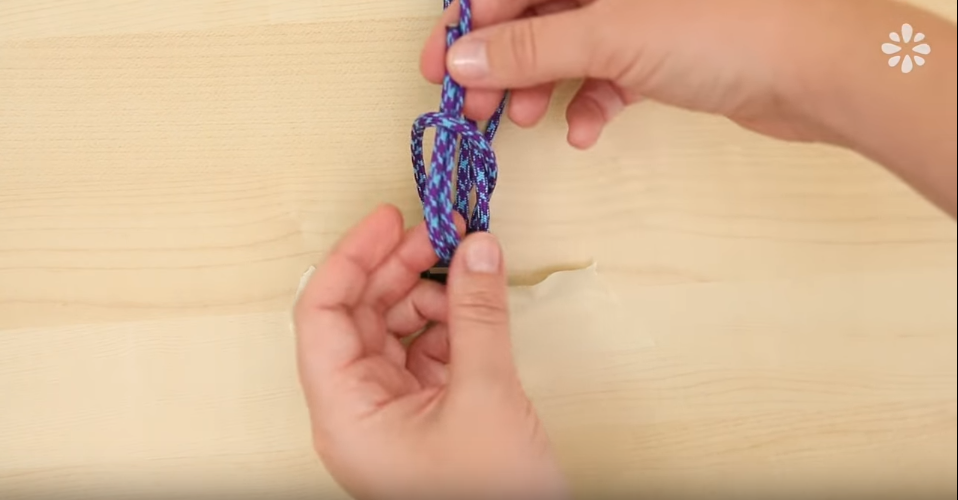
Then back through the loop as before. Now carefully pull all of the loops tight…
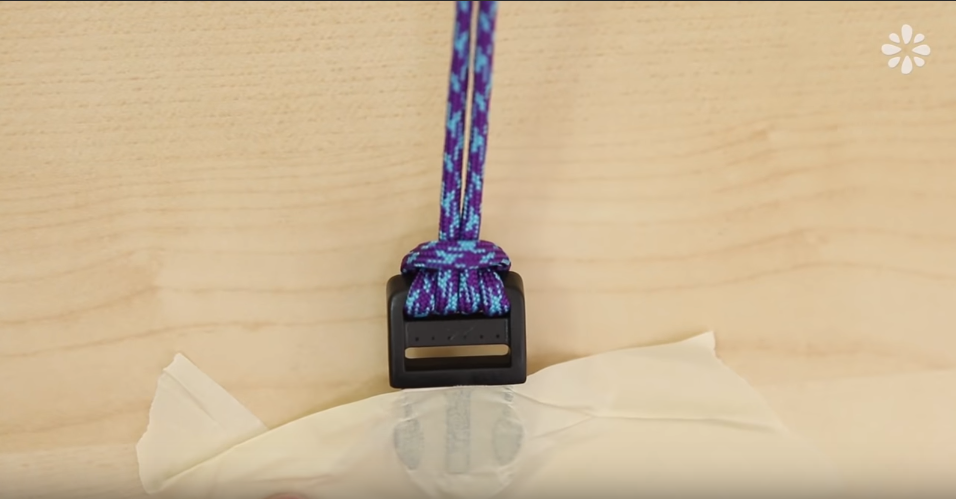
Until it looks like this. Now, follow the cords up to the other buckle.
Center the ends together and put them through the top buckle. Pull through so you have one strand on the right, two in the middle, and one on the right.
Bring the left strand through the left side of the buckle once more…
Creating a loop around the left side. Repeat this on the right with the right strand.
If you did this correctly you should see this. You are now ready to do the fishtail braid.
#3. Begin Braiding, Adding D-Ring 1″ From Beginning
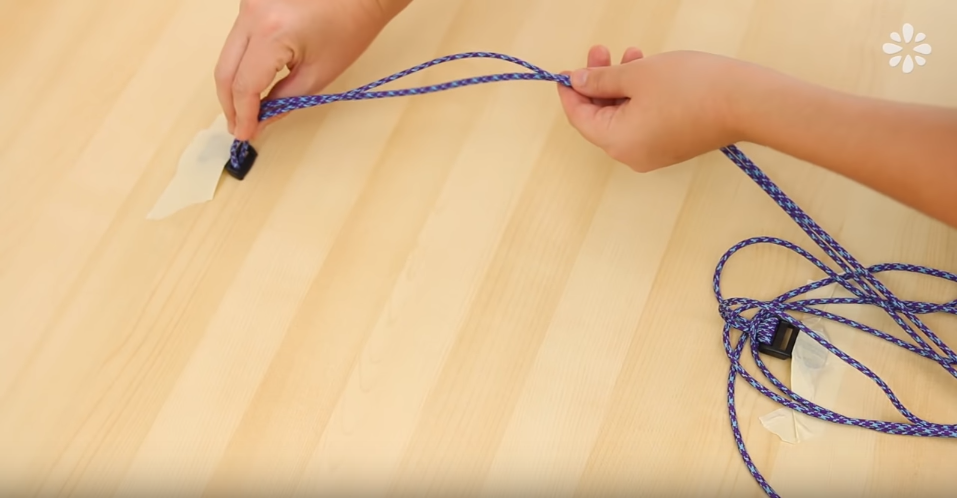
To begin the fishtail braid, take the left strand through the two middle ones, over the first one and under the second one.
Then the same with the one on the right, over the stand closest to it, the under the one furthest. As you can see this creates a criss-cross with the two active strands.
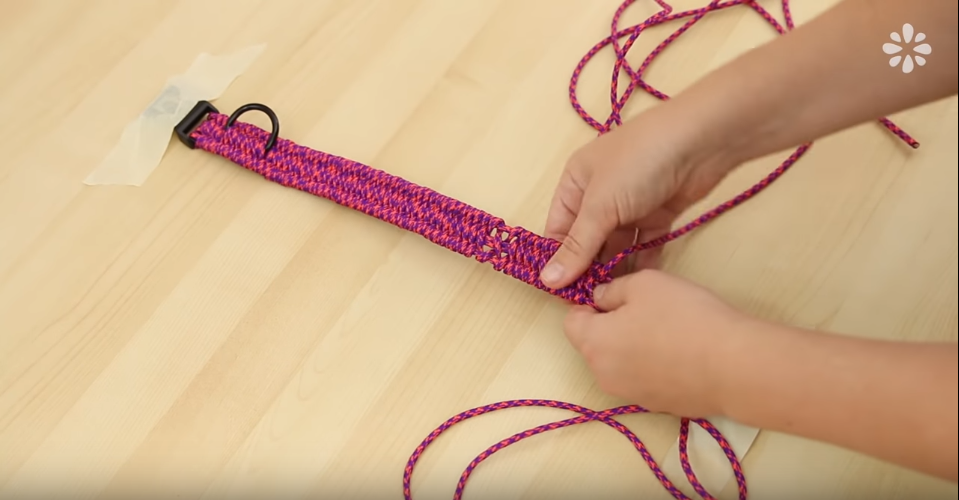
Tighten this up to the top. Then, simply repeat to create the braid.

Once you have braided about an inch or so, you can add in the D-ring. To do so, take the left strand through the D-ring…

With the right strand going underneath it. Continue to braid until the D-ring is fully covered, then continue normally down the collar's length. Also, as previously shown, push up on the braid as you gain length to keep the collar strong and solid.
#4. Finishing The Paracord Dog Collar
When you get to the bottom and cannot braid any longer, pull through the middle with both strands so that they are both on the back side. Remove the tape from the buckles and flip collar over.

Trim the cords to be about 1/2″ long. Seal with flame then do as before, using the needle nose pliers to flatten the cord and turn it under.

As an optional step you can loosen a couple of links and place the ends underneath for a finished look and to keep the ends away from your furry friend's neck.
Congratulations! Your small paracord dog collar is now complete!
If you'd like to watch the video where we got this great idea, you can do so here:
[cleveryoutube video=”7OBeUnFht0g” style=”1″ endtime=”13:28″ alignment=”center”]
If you liked this DIY Paracord Dog Collars step-by-step tutorial and would like to see more, please share it with your friends and family on social media. This helps us at Dogs, Dames and Dudes to continue bringing you great content such as this!


")

